Fabric Gift Bag Patterns Free
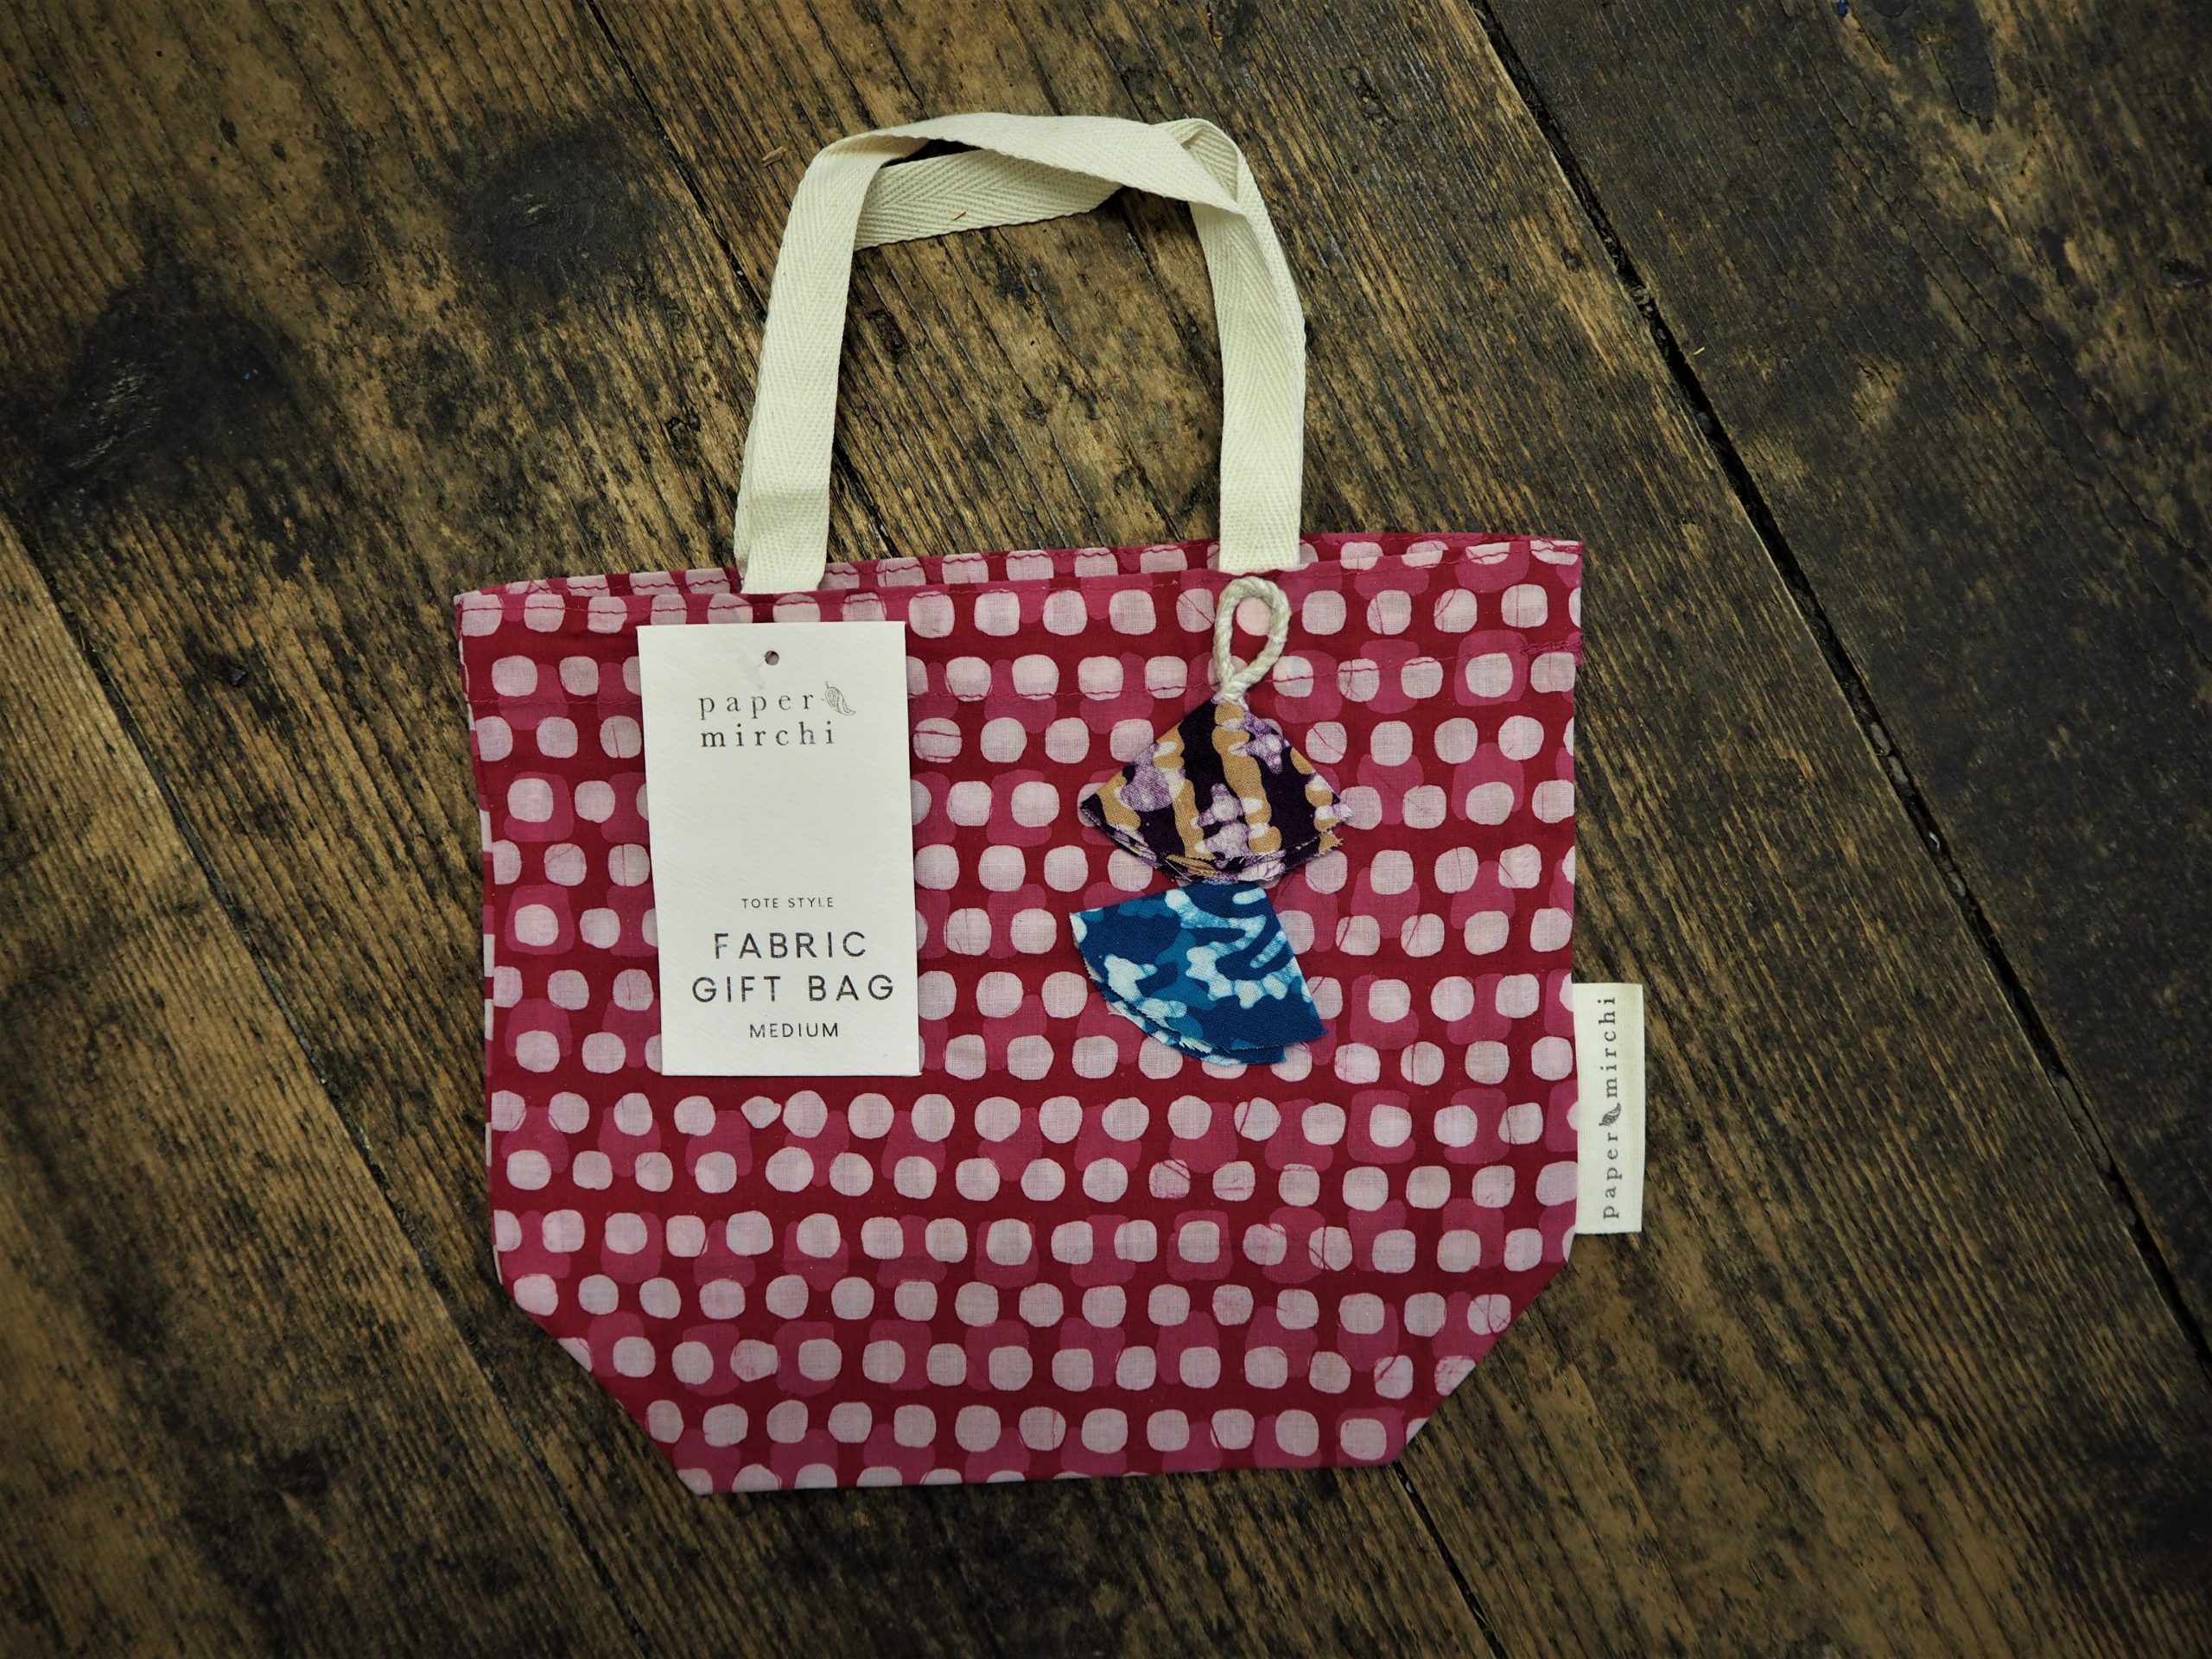
Fabric Gift Bag Patterns Free - For the past few years, I've been working to replace wrapping paper with reusable gift bags for Christmas and birthday gifts. In this tutorial, I'll show you how to make a fabric gift bag (both lined and unlined) - without measuring! This is an easy sewing project, perfect for beginners.
 Source: smallprintcompany.com
Fabric Gift Bag Patterns Free
You don't measure your wrapping paper before wrapping a gift, do you? So let's make DIY gift bags as easy as wrapping a gift in the usual way. The best part is that the more bags you make in different sizes, the less preparation, wrapping and bag making you have to do next year.
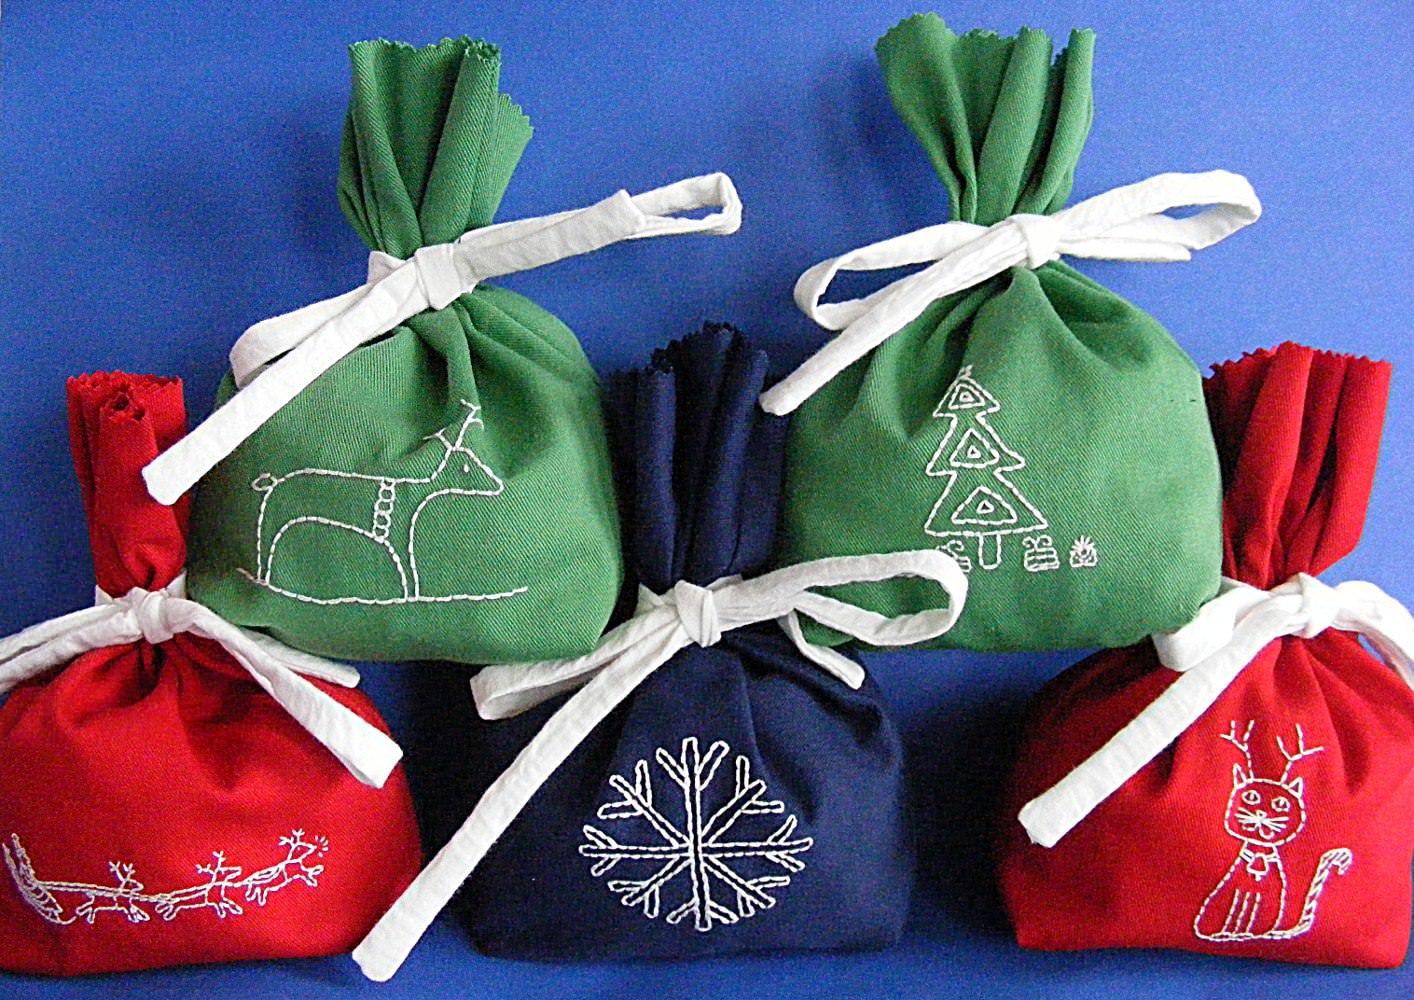
You'll end up with a stash of easy-to-handle gift bags in all shapes and sizes! Yes, you will give away some bags when you give gifts to people outside of your home, but I love the idea that they will reuse them and I accidentally cut into their wrapping paper too!
P.S. You'll find printable instructions and a video tutorial at the end of this post! Below you will find all the supplies and instructions you need to make quick and easy handmade gift bags. The second option is pretty self-explanatory and doesn't need any further review - so if that's what you're going to do, go ahead and skip to the next step.
How To Make A Fabric Gift Bag
To determine the size to cut your fabric for a particular gift this is what I do: pull a holiday fabric or other fabric scraps, anything from fat areas to large scraps or even a yard of fabric if your gift is too big. You can make bags by folding a piece of fabric in half or using one piece for the front and one for the back.
 Source: i0.wp.com
So fold your fabric or put your 'front' fabric down and place your gift on top. Consider the depth of your gift. How many fingers deep (approximately)? Try to make sure there is enough fabric on each side of your gift (when you are sitting on top of the fabric) not only for your 1/4″ seam allowance but also for the depth of the gift.
So if your gift is two fingers deep (a book for example), add two fingers width to the side of the book. Some are good too if you want to be sure. Also consider how high your talent is compared to your fabric. You'll be adding the gift casing about a quarter of the way down your bag - give or take - so there should be some space above your gift casing before it starts again.
If you are happy with the size trim off any excess fabric or any batts that are cut from the top or bottom of your fabric (I'm not measuring here, I'm just making sure the front and back of my folded fabric are the same size to start with. For a seamless bag: fold one piece of fabric and cut the sides
Step 2: Topstitching The Top Of The Bag (Unlined Version Only)
both equal or cut the 'back panel' to match the size of your 'front'. cut 2 Fold the pieces of fabric to the same size or cut 4 panels - 2 for the outside of the bag and 2 for the lining. I used a thin polycotton dachshund fabric for the front panels of the 2 bags
striped and back. The panel and lining are cut from some of my husband's old clothes. I like to use scraps like shirts and denim for all kinds of sewing projects including DIY fabric gift bags. You can even use Christmas quilt blocks as the outer fabric for your bags, like these cute Christmas ones
 Source: images.squarespace-cdn.com
Tree Quilt Blocks. Again I didn't measure - I just used the edges of my top panel as a pattern piece for the other panels. For both: If you're using separate panels instead of folded fabric, sew the outside of your bag right sides together along one of the long edges before moving on to the next step.
See below for sewing your lining if you are using one). If you are going for a bag without a lining, the next step is to hide the raw material at the top of your bag. To do this, you need to fold the upper part twice to hide the raw material inside.
Step 2: Topstitching The Top Of The Bag (Unlined Version Only)
Again we are not measuring, you can make it small or something chunky - it's up to you (see the photos of the rough guide). You can also watch the whole process in the video at the end of this post if you're not sure what I'm talking about here!
Click on the first fold and fold again and click again. The only thing you need to check is that the fold is almost the same width all the way across your piece of fabric. Next, take it to the machine and 'topstitch' the bottom fold line - but do the wrong side of the fabric up - so up the back more.
I do this from the back to make sure I catch the folded fabric in my seams. I use a 3.5 stitch length. Note: If you are going to pack your bag - skip this step! Next, you need to find a long strip of fabric (or you can cut two together if necessary).
 Source: www.shinyhappyworld.com
It should be about the same length as the width of your bag. Note: At this point, the outside of your bag has not been sewn together on all sides. If you use a folded cloth, it should be opened for this. If you glue the front and back it should fit on your bed as one piece.
Step 3: Making Your Drawstring Casing
A leftover jelly roll strip is great for this but if you have a strip that's thinner or thicker than that - that's fine too! This fabric strap will be visible on the outside of your bag as it is the drawstring - so make sure it matches your main fabric.
Hide the raw edge at each end of your fabric (the short ends!) by doubling and sewing together the fold (same process as Step 2 above). Again there is no need to scale but you may want to make the sheets smaller than those in Step 2 above.
When you have done this, sew all the wrong fabric to the wrong side using a 1/4 seam along the long edge. Backstitch on both sides. Once sewn, bring your thread to your pressing mat or ironing board and insert the thread so that the seam is at the back and the "good" side is at the front.
Then click. You can press the seam open or to the side, it doesn't matter. It just needs to be hidden behind the casing. This step is the same whether you are making a lined or unlined bag. Place your finished design casing seam side down on top of your bag fabric.
fabric gift bag sewing pattern, fabric gift bags to sew, fabric gift bag tutorial, patterns for making gift bags, fabric gift bags diy, cloth gift bag patterns, gift bag patterns free sewing, pattern for fabric gift bags