Drawing A Gift Box
Drawing A Gift Box - The first step is to set up the Illustrator artboard. Go ahead and choose File > New (Ctrl/Cmd + N). Let's make it 500 x 500 pixels. image size. Grab the Rectangle Tool (M) and click anywhere in the artboard to open the Rectangle dialog box.
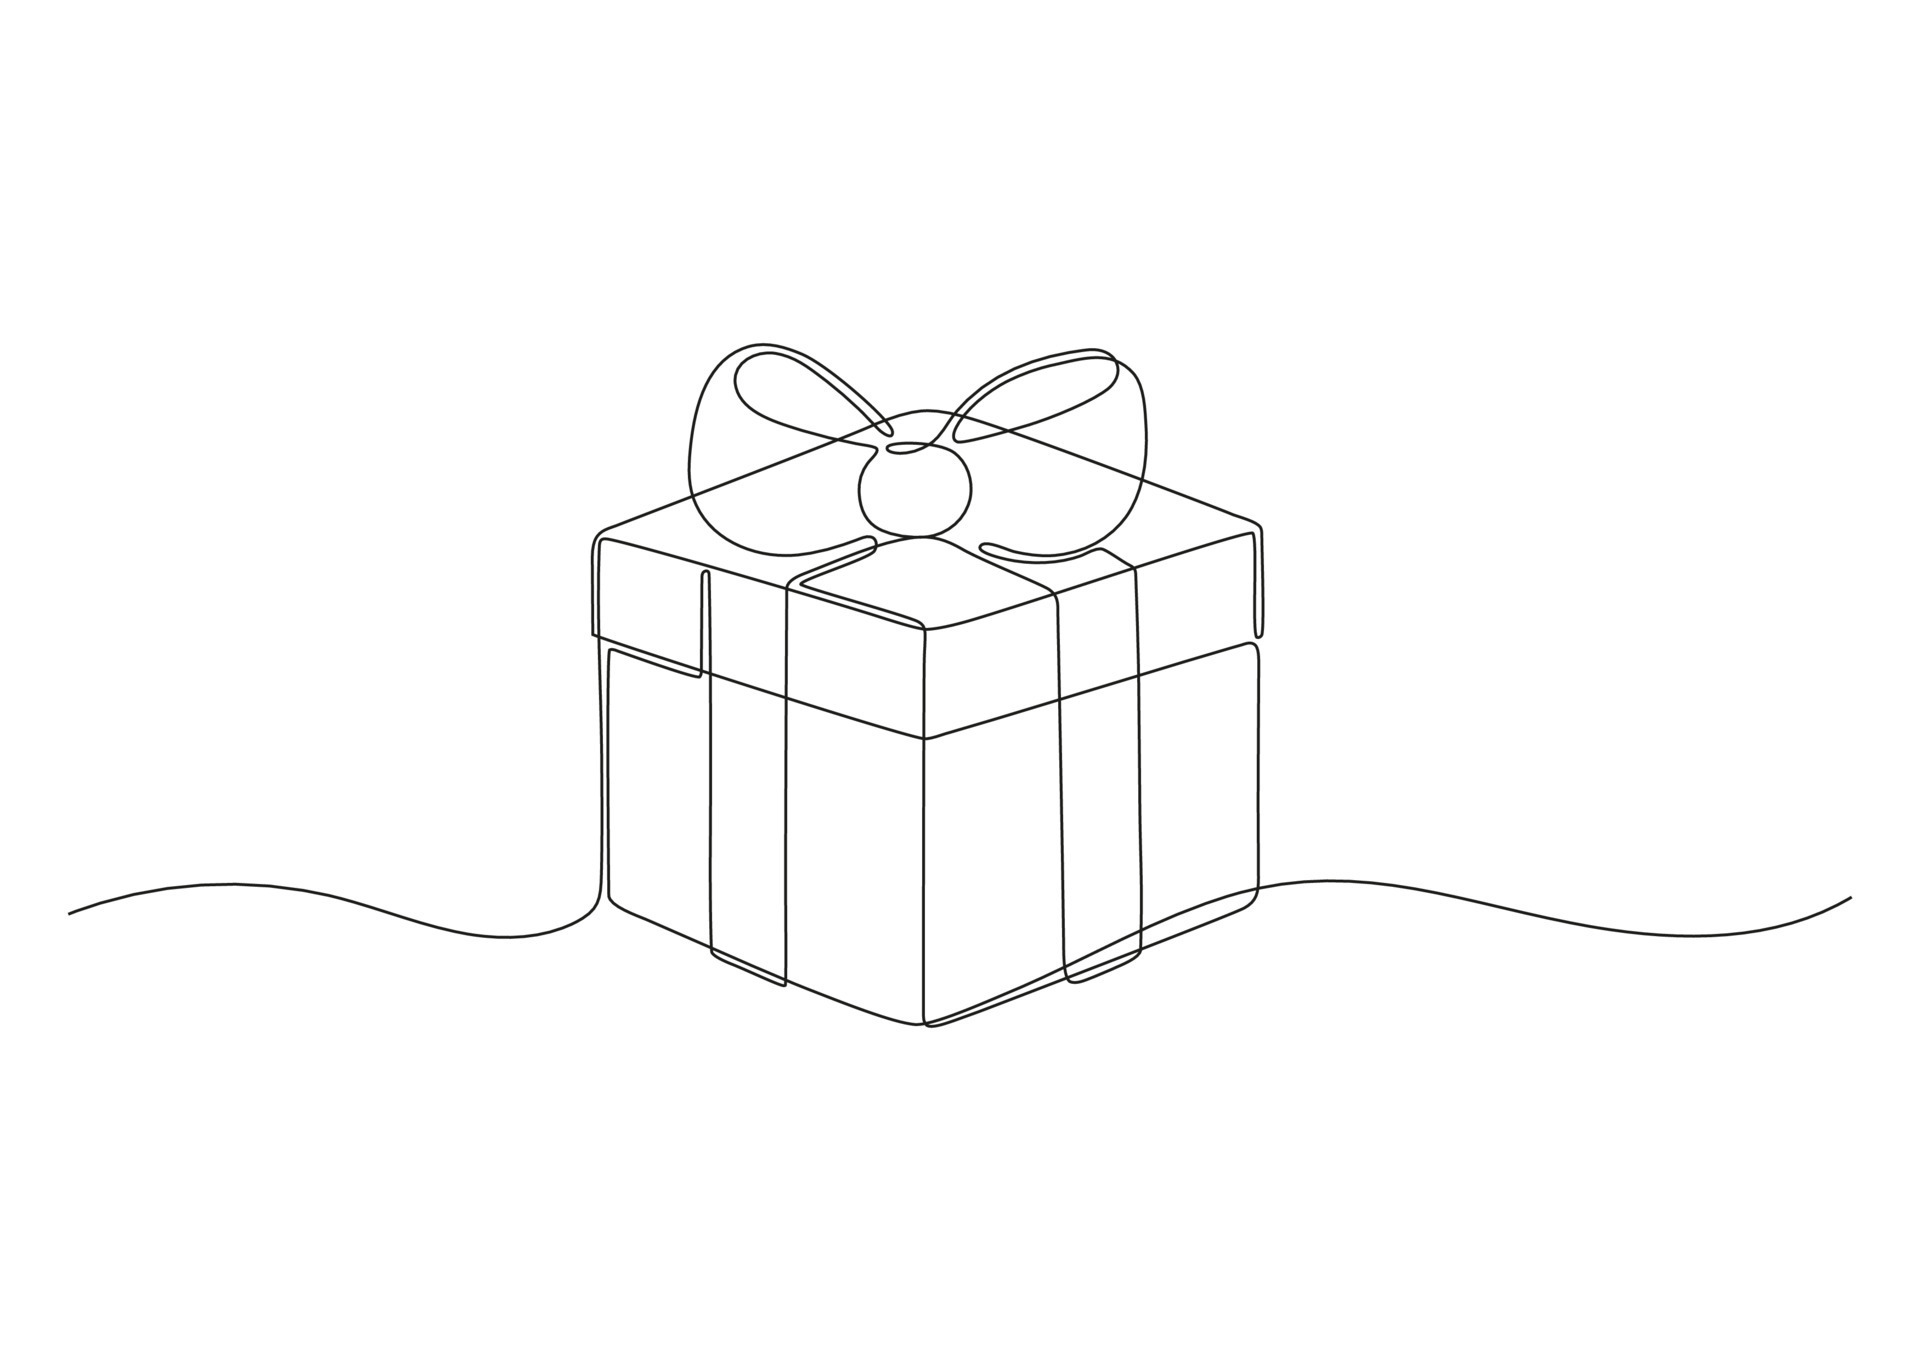 Source: static.vecteezy.com
Drawing A Gift Box
In the dialog box, set the width and height to 100 pixels. With the rectangle still selected, choose Effect > 3D > Extrude & Bevels. In the 3D Extrude & Bevel dialog, we need to adjust the gift box effect settings. Since the X and Y dimensions of the gift box were set to 100px, we also need to set the extrusion depth value (Z dimension) to 100px to create a perfect cube.
Don't forget to adjust the Perspective option so we can tilt the 3D box slightly to the right. To change the 3D box, we need to expand it. Go to Object > Expand Appearance. After that, ungroup the cell by selecting it and going to Object > Ungroup (Shift + Ctrl / Cmd + G).
You may need to use the Ungroup command several times to completely ungroup a shape. We should now have three objects that make up the 3D box. We have to split one of them (you'll see why later). Grab the Line Tool (/) from the toolbar and create a line as shown below.
Step 1: Set Up The Illustrator Artboard
Select the row we just created and the top of the field. Then click the Split button in the Pathfinder panel to split the top of the box in two. Select the left side of the field and apply a radial gradient to it. This side should be slightly brighter because the light source is on this side.
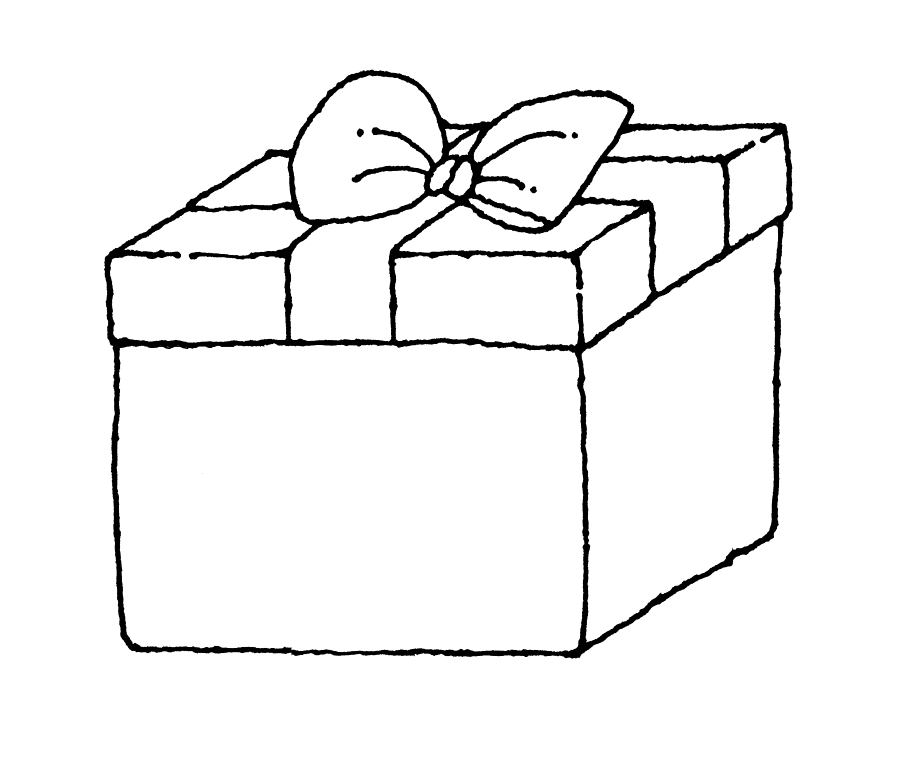 Source: clipartmag.com
Use the same radial gradient on the front of the gift box. However, make this side of the gift box slightly darker for the most accurate lighting. The inside of the box will be a different color. Since our gift box is designed for luxury gifts, we can make it look like silk fabric.
Duplicate both top sides by copying them (Ctrl/Cmd + C), then paste them in front (Ctrl / Cmd + F), then apply a linear gradient to both inner sides. Now we need to move and change some anchor points. Grab the Zoom Tool (Z) from the toolbar and zoom in so we can see our reference points more easily.
Using the Direct Selection Tool (A), move the corner anchors down about 1px. Repeat the previous process on the right side of the gift box. We will add some highlights to some edges to make the surface details more complex and accurate, and to support the three-dimensional appearance of the gift box.
Step 2: Create The 3D Box
Just take the Pen Tool (P) and draw the shape below. Using the same technique, create white highlights on the top edge of the box. Also create white accents in the inner corner of the box. We will be using Adobe Illustrator's Blend Tool. If you want to use the blending tool correctly, there's one thing you need to remember: when you blend vector paths, you need to make sure they have the same number of reference points.
Grab the Pen Tool (P) and draw the shape below, then give it a linear gradient. Draw a crescent shape around the shape above and give the diagonal of the crescent a linear gradient as shown below. You can see that both shapes have only three anchor points.
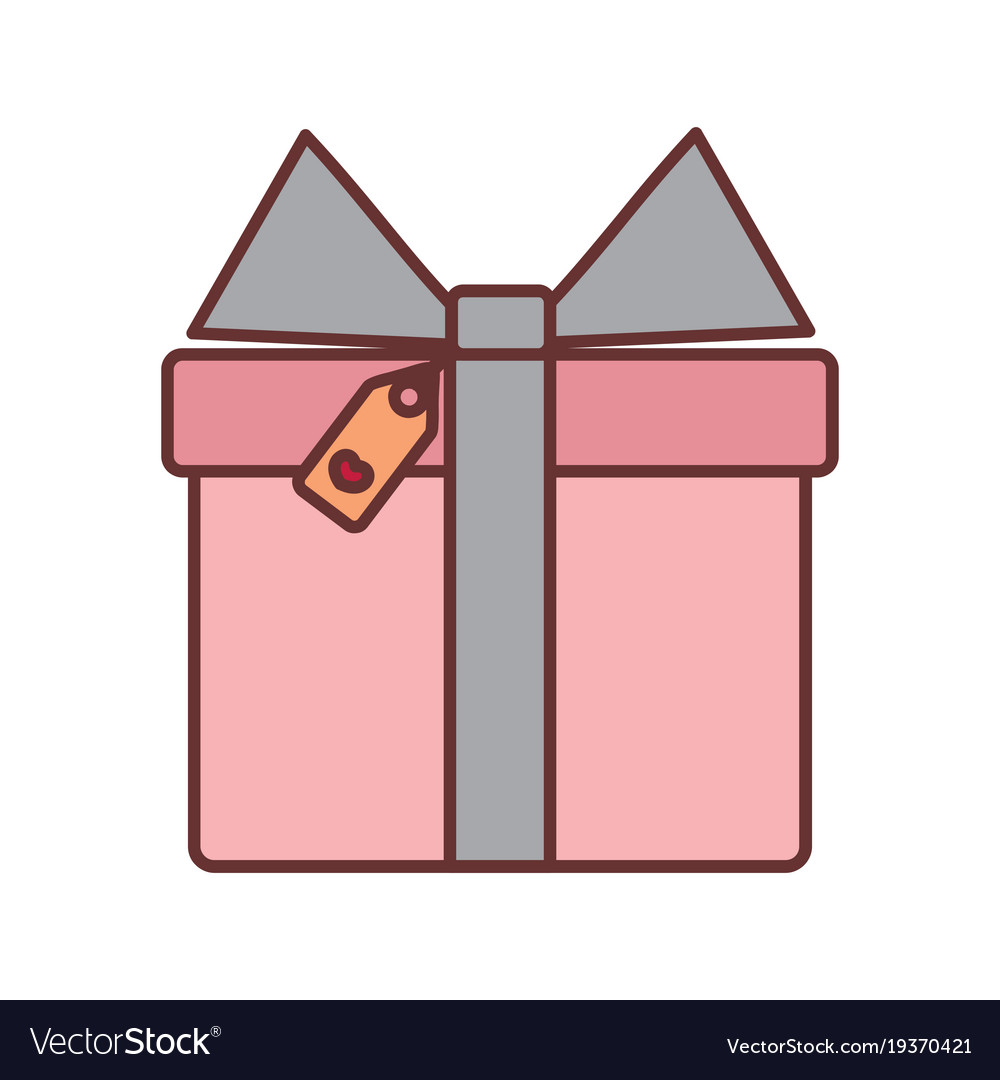 Source: cdn2.vectorstock.com
Select both shapes and go to Object > Blending > Blending Options to open the Blending Options dialog box. In the Blending Options dialog box, in the drop-down menu, set Interval to Set Steps, then set Interval to 35. Click OK to apply the blending.
Using the same technique, create a raisin on the left side of the gift box. Just remember the rule of having the same number of reference points. Let's move on to the lid of the gift box. Grab the Rectangle Tool (M) and create a 100x20px rectangle.
Step 3: Applying Surface Colors
With the rectangle selected, choose Effect > 3D > Extrude and Bevel. The extrusion depth should be set to 100px because the width of the rectangle is 100px. Adjust the Perspective setting (one of the most important things) and rotate the cap. We will place the lid on the left side of the gift box.
Ungroup the object (you may need to use this command several times to completely ungroup the object) and lean on the gift box. Now we need to make a lot of adjustments to the gradient colors and create the right highlights. Blending is very helpful at this stage as well.
We will try to make the lid of the box look thicker. Create the shape below and give it a linear gradient. Let's create another crescent shape that we'll use to blend in with the other shape we just made. Select both shapes and go to Object > Blending > Blending Options.
 Source: thumbs.dreamstime.com
Set the steps to 15. Repeat the process on the right side of the cover. You should end up with something like this: Add highlights to the edges of the hat as in step 4. Of course, we'll need ribbon for our fancy gift box.
Step 4: Highlight Detailing
This step is actually very simple; just create some stripes and tweak them a bit. Take the Pen Tool (P) and draw a shape as shown below. Hold the mold parallel to the lid of the gift box. Repeat the top shape for the gift box lid.
Select the copy you just created and the blue stripe, then click the Intersect button in the Pathfinder panel. The gold goes well with the red - it also supports our chic, luxurious theme - keep it up. You can use the same linear gradient for each part of the strip.
Just adjust it as needed, keeping in mind that our light source is coming from the left side of the board. Let's add some details to the ribbon to make it look more interesting. Use the Pen Tool (P) to draw the path below. Select both paths, then choose Object > Expand.
Make two copies of the strip below the contours. Select one of the stripe copies and one blue stripe, then click the Intersect button in the Start Paths panel. Time to make a gift bow. Use the Pen Tool (P) to create the shape below.
gift box drawing easy, cute box drawing, gift box drawing colour, gift box images clipart, present box drawing, clipart of gift, drawing of a gift, easy to make gift boxes