Reusable Gift Boxes
Reusable Gift Boxes - Tired of wrapping presents every year? Why not make a reusable Christmas gift box that you can use year after year! It's easier than you think! When I asked my Homier Home VIP team what they would ask them to wave a magic wand before the holidays, many people said that someone wraps all the presents.
 Source: i.etsystatic.com
Reusable Gift Boxes
Now I can't come to your house and do it for you, but I think I've found the next best thing! Today I'm sharing how to make reusable Christmas gift boxes so you only have to do the work once! And even more exciting news today's post is part of the wonderful Deck the Halls blog from my brain at Thistlewood!
This is a really talented group of home decor, DIY and craft bloggers! So if you're coming from Make Every Day Count for easy Christmas dessert ideas, wouldn't that be great? Be sure to stick around until the end to see who's next on this blog.
Disclaimer: This post contains affiliate links for your convenience. This doesn't cost you anything extra, but it earns me a small commission. To read more, see our disclosure policy. As an Amazon affiliate, I earn on qualifying purchases. First, you want to collect all of your items first.
Required Cookies & Technologies
I bought most of my stuff at Target because they seemed to have the best stuff in person, but I linked everything I bought to the list below. Now let's talk about how I made each of these reusable Christmas gift boxes. Note that you can mix and match the letter from the top of the box to the bottom.
 Source: cdn.shopify.com
The steps I'm giving you today are how to put paper in a box so you can reuse it every year. I will start by measuring the square on the back of the paper that I will need on each side of the box to make so that there is an overlap when the edge of the box is folded over.
I then used my scissors to cut a slit and my fancy paper cutter to cut a straight line around the box. Once you have the right size paper, place it in the center of the box and draw a pencil line around the sides of the box.
This will help you know exactly where to replace the box after applying the glue. The spray adhesive is a little smelly, so make sure to wear a mask or in a well-ventilated area. Not bad, but the initial spray will hit your nose. Spray adhesive can also produce a bit of spray, so make sure there's nothing you care about (hey...your cell phone) in the path of the spray.
Personalized Advertising
You don't need a ton of spray to get the job done. You can watch the video below on how I made a quick poster using spray adhesive on paper. Once you have deflated the balloon, place it in the box with the pencil marks and press firmly.
With some spray adhesive left on the paper, I pressed hard to stick the paper to the box. Make sure you smooth it from the bottom up so you don't get wrinkles in the paper. Then you can fold the short sides in the same way.
 Source: secure.img1-cg.wfcdn.com
When all sides are up, the paper will meet at the corners. Start by pinching the paper so that the corners are even and come out. Download it by simply selecting below. Let's make this holiday the most memorable! Once you have the sharp edges, you will need to cut a small slit along the long edge of the paper.
This is so that the longer end can be folded into the box without disturbing the short end. You just want to cut your slot to the top of the box. After cutting the holes, you will now be able to bend the long edges of the box without disturbing the short sides.
Required Cookies & Technologies
Once you've folded both sides, stick them to the inside of the box using white tape. For short sides with sharp corners, you'll want to start by adding a piece of square tape to the corner edge of the triangle you created from the corner.
I didn't have double-sided tape when I did this tutorial, so I just rolled up regular tape. Note that double-sided tape would be much easier and work better if the seam is smooth. Once you have attached the tape, fold the short edge as shown in the picture above.
If the top of the paper doesn't have a nice line, you can use scissors to cut off the excess. Once the corners of the triangle are attached to the side, fold the paper over the edge of the box and place it inside the box.
 Source: i.pinimg.com
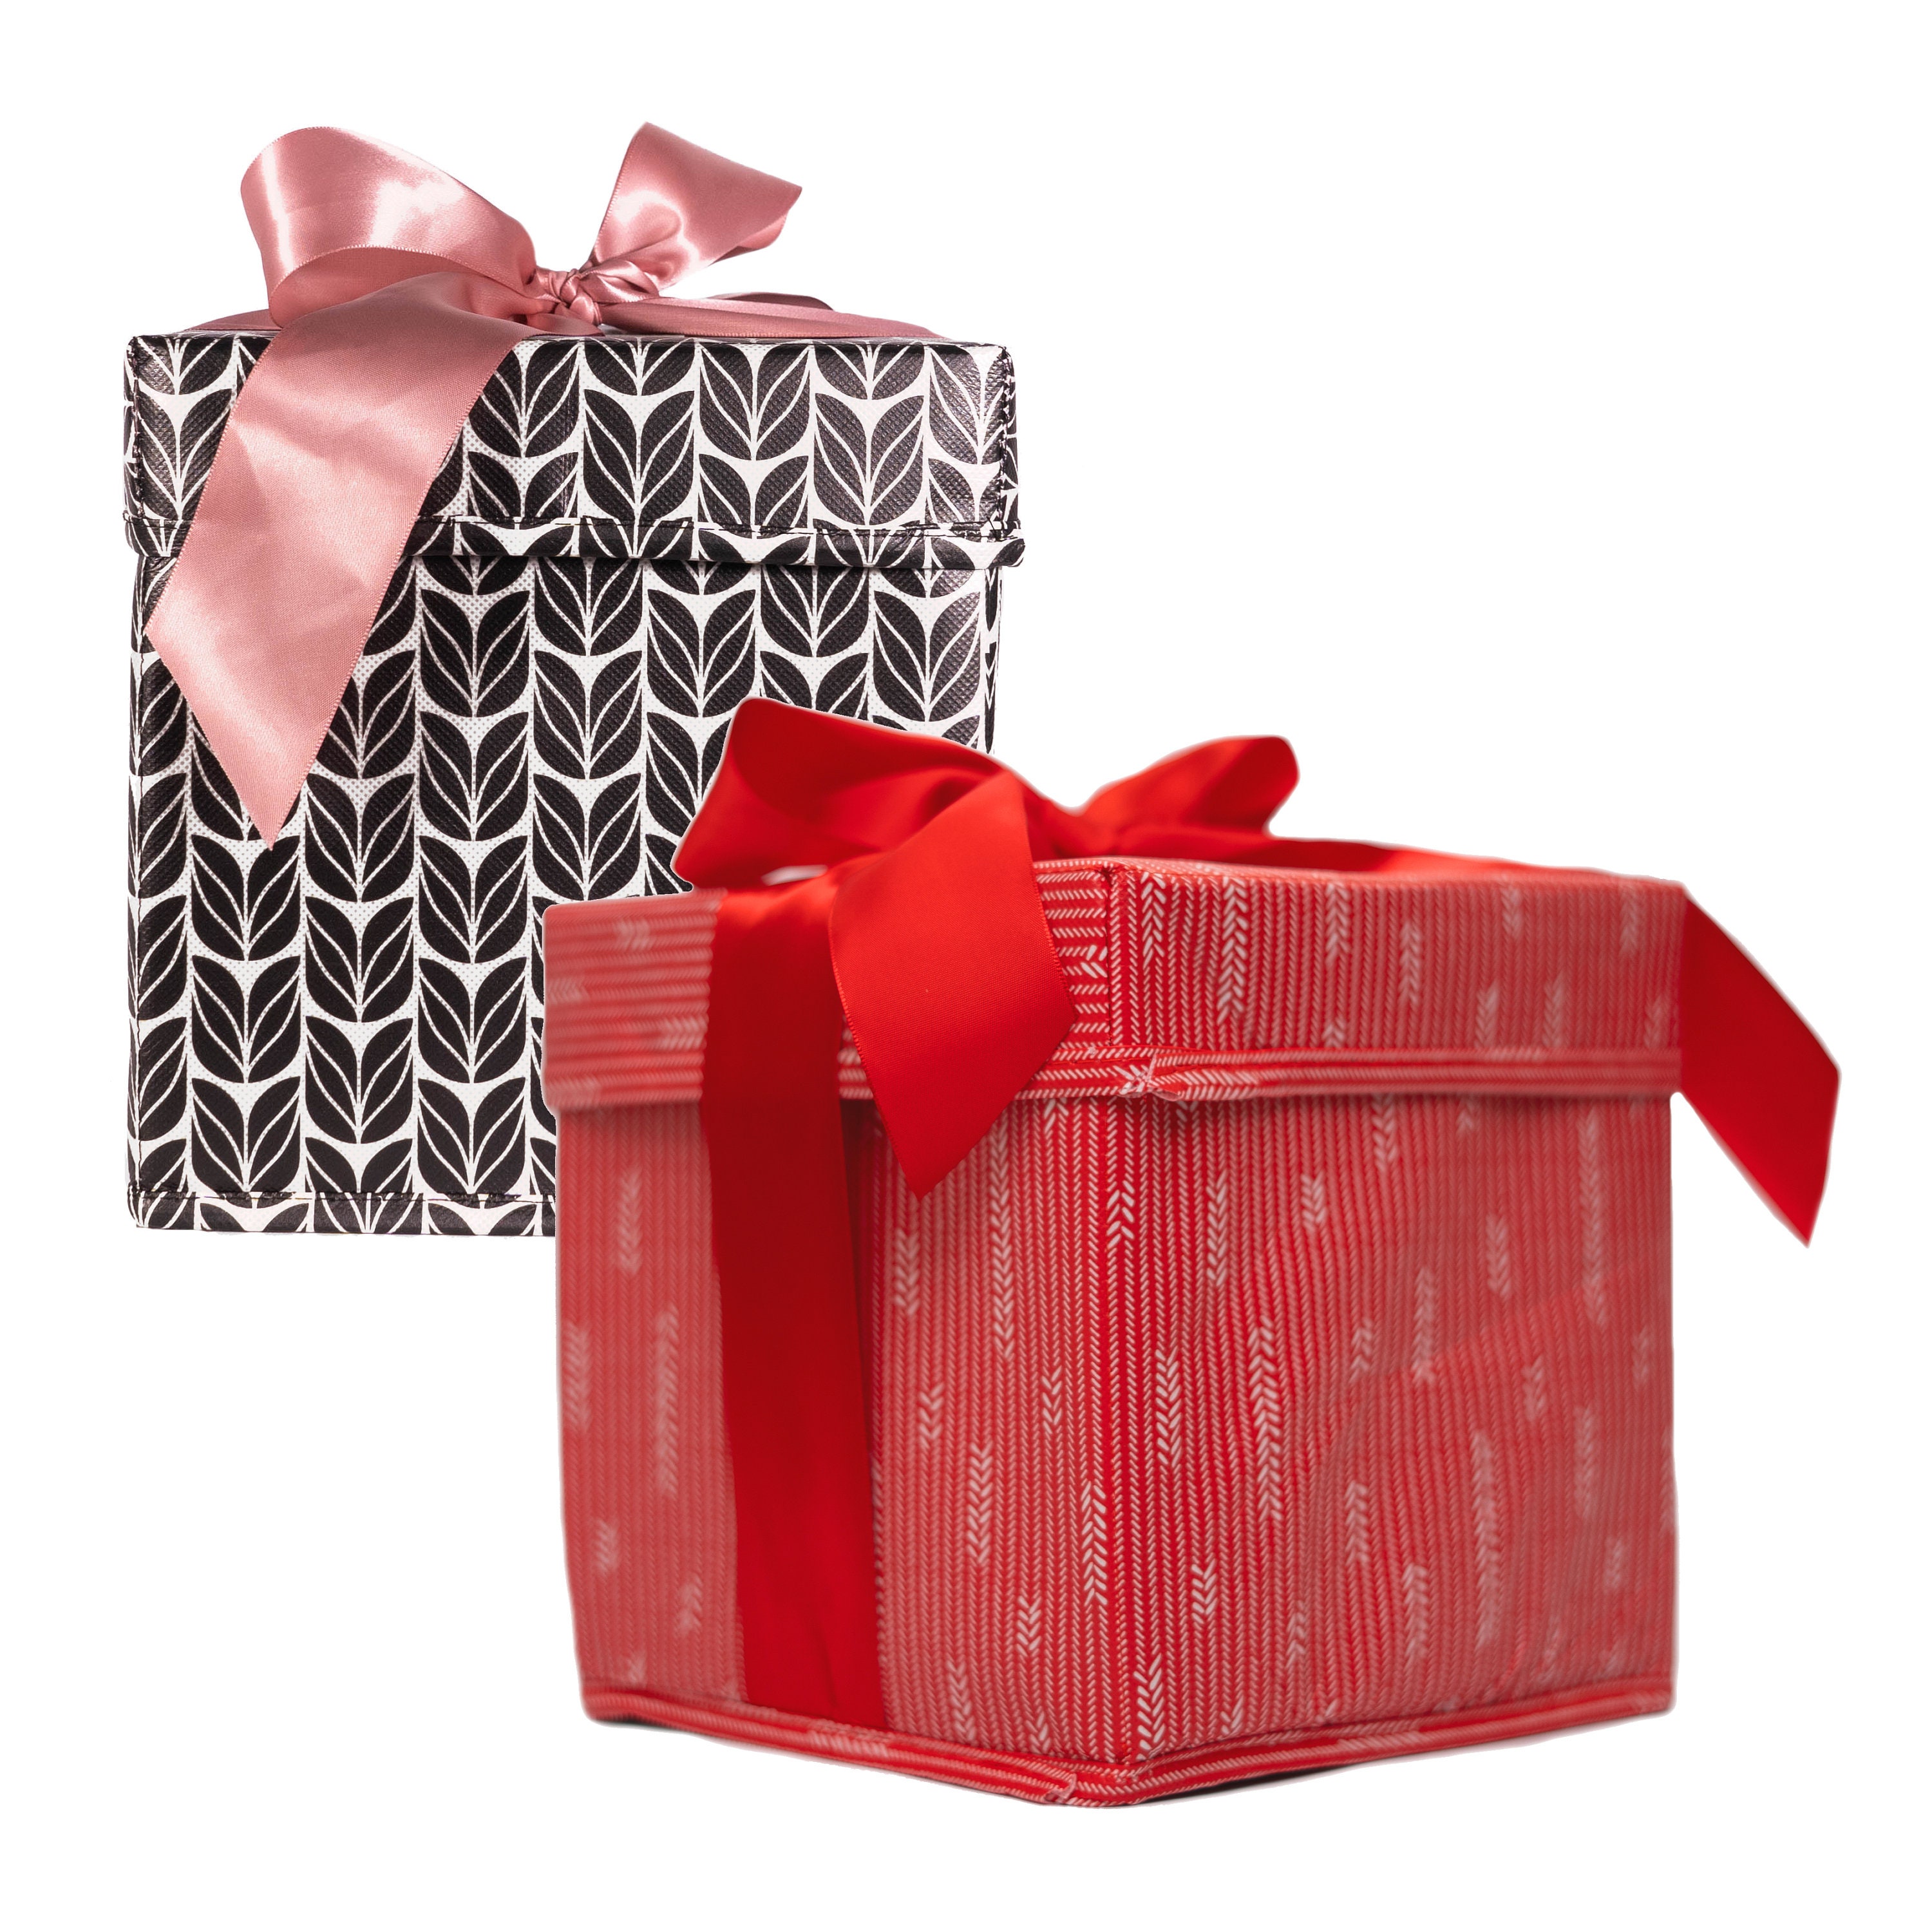
You can see what the finished box looks like inside and out. Once you have a reusable Christmas gift box, you can decorate your box with whatever you want! I like bows with stems the best, so I have somewhere to attach the gift tag.
Personalized Advertising
I recommend using gift tags for the ties so you can easily remove them year after year without damaging the box. Last but not least, you want to fill your box with the beautiful gifts you bought for your loved ones! Add your favorite colored paper to the inside, place your gift on top, fold the tissue and close the box.
Don't forget to add information to the gift tag you've created! Now you have reusable Christmas gift boxes that will help you save time on wrapping year after year! Well, next stop on this Deck the Halls blog is Robin from Robin's French Nest. Her announcement will be made on November 19th at 8:00am EST.
Do not miss! Download it by simply selecting below. Let's make this holiday the most memorable! Want to access all the best Christmas decorations and gifts?!? This group is open to all Christmas lovers looking to upgrade their seasonal shopping! Just fill out the information below and we'll send you the information right away.
I love this idea! As a child, seeing all of my mom's recycled department store boxes is one of my favorite memories. And these are so cute!!! I love how you created this reusable box! Light, my friend. I really like recording live and will share your great idea if you are okay with it.
large gift boxes with lids, cheap white gift boxes, extra large gift boxes, reusable gift wrap dvd, decorative gift boxes with lids, gift boxes with lids retail, reusable christmas gift boxes, everwrap