Pattern For Fabric Gift Bags
Pattern For Fabric Gift Bags - For the past few years, I've been exploring replacing the wrapping paper with reusable gift bags for Christmas and birthday gifts. In this tutorial, I'll show you how to make a free-to-measure fabric drawing gift bag (both lined and unlined)! This is a perfect sewing project for beginners.
 Source: img.ltwebstatic.com
Pattern For Fabric Gift Bags
You don't measure the wrapping paper before wrapping your gifts, do you? Now let's make DIY gift bags as easy as traditional gifting. Best of all, the more bags you have in different sizes, the less prep, packing, and bag making you'll have to do next year.
Easy to store gift bags of all shapes and sizes! Of course, I gift a few bags to people out of the house, but I really like the idea of them being reusable, so I accidentally cut down on the wrapping paper they use too!
P.S. Printable instructions and video tutorials can be found at the end of this post! Below you'll find all the ingredients and instructions you need to make a quick and easy handmade gift bag. The second option is pretty self-explanatory and doesn't require any further copying.
How To Make A Fabric Gift Bag
So, if that's what you want to do, skip to the next step. Here's what I do to find out what size fabric to cut for a specific gift. If the gift is too big, pull all the way up to festive fabric or other fabric scraps, quilts, large pieces, or a yard of fabric.
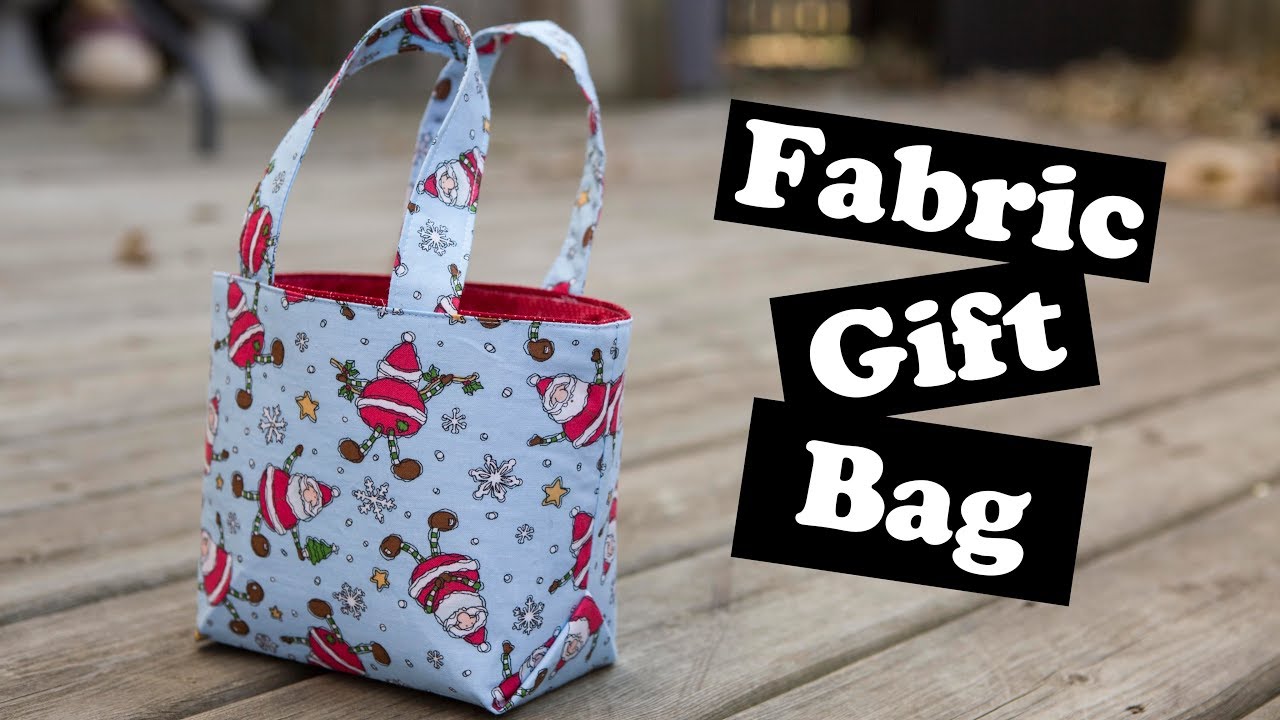 Source: i.ytimg.com
You can make a bag by folding a piece of fabric in half or using one piece for the front and one piece for the back. So fold the fabric or place the "old" fabric underneath and the current one on top. Consider the depth of your gift.
Approximately) How many fingers deep? Make sure there is enough fabric on both sides of the gift (when sitting on the fabric) and the depth of the gift as well as a 1/4″ vertical allowance. So if your gift is 2 fingers deep (eg a book), add at least 2 fingers width on either side of the book.
Better if you want to be sure. Also consider the height of the gift relative to the fabric. I want to add a sketch about a quarter of the bag. Give or take Therefore, there should be some space above the gift before the case begins.
Step 2: Topstitching The Top Of The Bag (Unlined Version Only)
Once you're happy with the size, cut off any excess fabric or fabric from the top or bottom of the fabric. start For unlined bags: Fold a piece of fabric and cut the two sides equal, or cut the "back" to the same size as the "before."
For lined gift bags: Cut 2 folded pieces of fabric the same size or cut 4 panels (2 for the outside of the bag, 2 for the lining). I used a thin poly cotton dasher fabric for the front panel of the double-breasted bag, and the back panel and inner fabric were cut from my husband's old shirt.
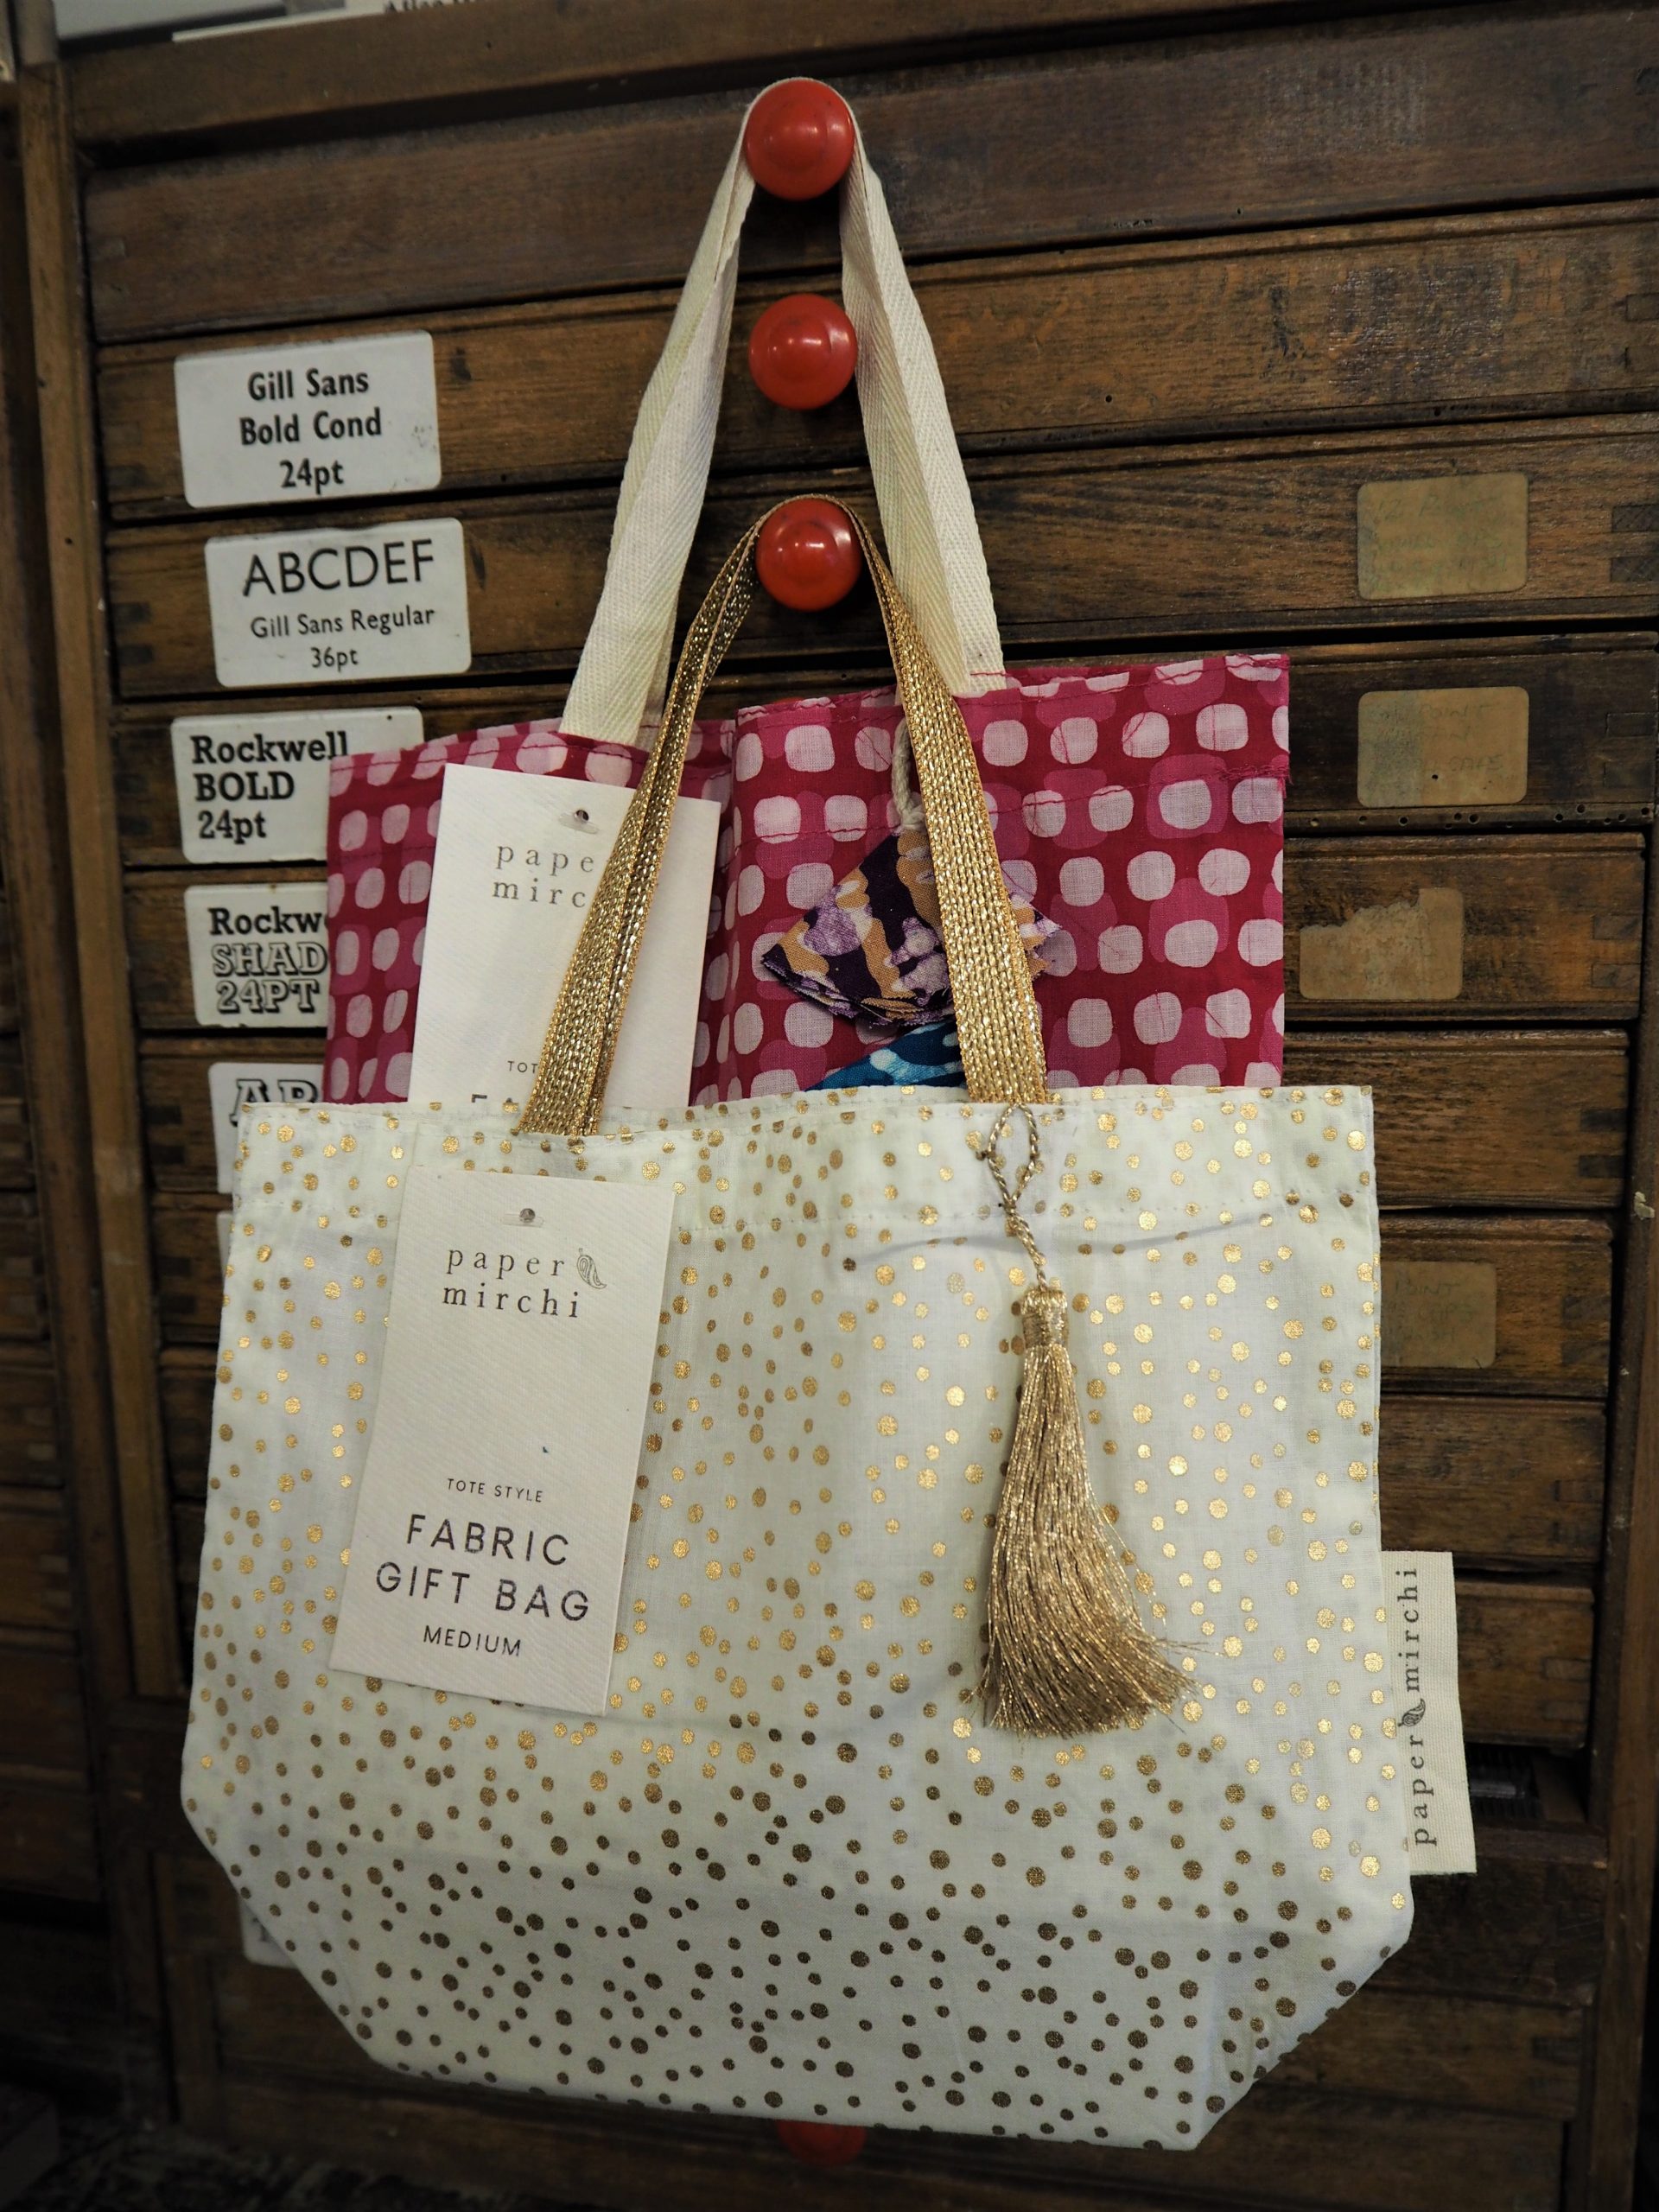 Source: smallprintcompany.com
I love using upscale materials like shirts and vintage clothing for all kinds of sewing projects, including DIY fabric gift bags. You can also use a Christmas quilt top, like a cute Christmas tree quilt top, as the lining of your bag. Did not measure again.
I used the edges of the top panel as a template for the other panels. Both: If you're using separate panels instead of folded fabric pieces, sew the outside right side of the bag along one of the long edges before moving on to the next step.
Step 2: Topstitching The Top Of The Bag (Unlined Version Only)
See below for stitches if a strip is used.) If you want to use an unlined bag, the next step is to hide the edges on the top of the bag. To do this, you can fold the top edge twice to hide the inside raw edge.
And we don't measure. You can make it smaller or worse. It's up to you (see pictures for a rough guide). If you don't know what I'm talking about here, you can watch the entire process in the video at the end of this post!
Press the first fold, then fold and press again. The only thing you want to make sure is that the folds are the same width as the fabric piece. Next I take it to the machine and "topstitch" the bottom fold line. But basically the back is facing the wrong side of the fabric.
 Source: scrapfabriclove.com
Do it from the back so you can hold the folded fabric with the needle. I use a 3.5 stitch length. Note: Skip this step if you want to create your bag! The next step is to find a long piece of fabric. The length should be equal to the width of the bag.
Step 3: Making Your Drawstring Casing
Note: At this stage the outside of the bag is not yet sewn together. If you're using a piece of folded fabric, you'll need to unfold it for this. After sewing the front and back, lay it flat on the cutting bed. Leftover jelly rolls are great for this, but a slightly thinner or thicker strip is fine too!
The fabric is textured paper so you can see it on the outside of the bag, so make sure it matches the base fabric. Fold it over twice and sew along the fold (same process as in step 2 above) to hide the raw edges at both ends of the strap (the short ends!).
You don't need to re-measure, but it's safe to make these screws a little smaller than in step 2 above. Then, using a quarter seam along the long raw edge, sew the entire strip to the wrong side. Rear label on both ends. Place the embroidered band on the press bed or ironing board and fold the band so that the stitching is on the back and the "pretty" side is in front.
Then you can click to open the wall or click to the side. It doesn't matter. It just needs to be hidden behind the case. It's the same whether you're making a lined or unlined bag. Place the prepared drawing case side down on the bag fabric.
fabric gift bag patterns free, fabric gift bags to sew, fabric gift bag sewing pattern, gift bag sewing pattern free, cloth gift bag patterns, patterns for making gift bags, sewing gift bags pattern, wine bag pattern to sew