How To Wrap A Disc Shaped Gift
How To Wrap A Disc Shaped Gift - This article was co-authored by the wikiHow staff. Our team of experienced editors and researchers check articles for accuracy and comprehensiveness. The wikiHow content management team closely monitors our editorial staff to ensure that each article is backed by reliable research and meets our high quality standards.
 Source: i.pinimg.com
How To Wrap A Disc Shaped Gift
Nine references are listed in this document and can be found at the bottom of the page. This article has been viewed 48,906 times. More... Wrapping perfectly square items is a walk in the park, but wrapping oddly shaped items can be very frustrating! Whether you're trying to assemble a pyramid-shaped object, a balloon, or a large object like a bicycle, we have a solution.
You can make a special gift bag to put the items in, use crepe paper to match the shape of your items, or camouflage the appearance of the items with a box or blanket. If all else fails, you can always use a big bow!
Choose a medium weight gift wrap. Get something strong enough to hold your gift. Choose opaque gift wrap. Hold the paper up to the light to make sure you can't see through it. Go to Context Colors. Try red or green for a Christmas present or pale yellow for a baby shower gift!
Wrap A Square Or Rectangular Box
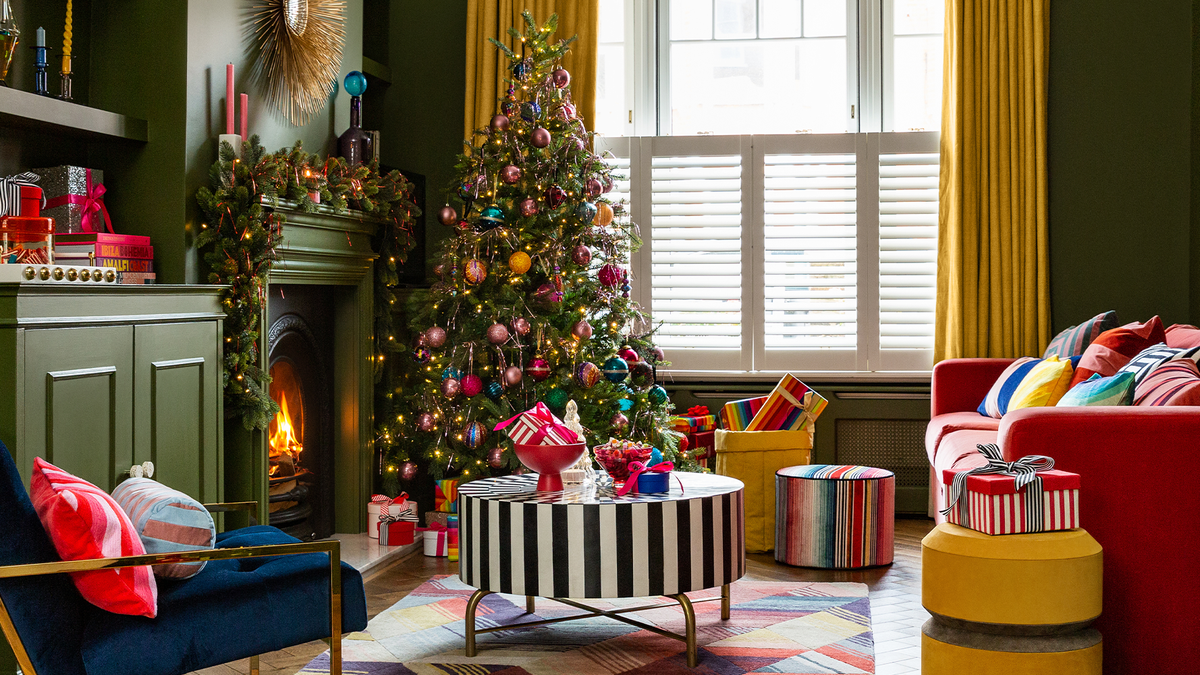
When wrapping Christmas presents, choose holiday themed colors like red and green ribbons. Or if you want to wrap a few round objects, use white ribbon and stick them in a snowman shape! Choose bright and bold colors like red, yellow, green, orange or blue to wrap your birthday present.
 Source: hips.hearstapps.com
For baby shower favors, choose pastels like baby blue, pale yellow, lavender, mint green, or light pink. Tip: If you have a lot of oddly shaped gifts for someone, try putting them in a gift basket! You can wrap each item individually and then decorate the basket with ribbons.
Maria Sabella is an electronic design consultant and has worked in the interior design and staging industry for the past six years creating digital content focused on home related topics. Whether it's a birthday gift or a holiday gift, a beautifully wrapped package adds to the joy and excitement of receiving a gift.
Some shapes and objects are easier to wrap than others, but by following our step-by-step tutorials, you'll be able to neatly wrap any shape of gift. This is the easiest of all shapes, so it folds neatly. If you have odd-shaped items like toys or unstructured items like shirts or sweaters, consider buying a gift or shirt box to store the items, which makes packing them easier and neater.
Unroll And Cut Paper
Make sure there is enough space to clean the flat surface and turn the wrapping paper over and open. Place the box on top of the wrapping paper, loosely fold the sides of the box and cut the paper to make sure it is wide enough.
After the paper is cut, reposition the box so that it is centered on the wrapping paper. Take the cut end of the paper and fold it 1 inch wide so it looks nice and straight all the way around and doesn't have wavy scissor lines at one end.
 Source: files.heftycdn.com
Fold one side of the paper tightly over the box, then overlap the first layer of paper on the other side and secure with a small piece of plain or double-sided tape. Next, hold the unfolded cardboard by one of the exposed ends and fold the top of the wrapping paper down (fold ends) to neatly fold the top.
Then do the same for both sides of the wrapping paper, now you only have the bottom, which is a triangle shape. Fold and tape over the three folded sides, then follow the same steps on the other side of the box. For a festive touch, add duct tape or wrap decorative ribbon to the gift and write the recipient's name or attach a cute gift tag with their name on it.
Fold The Cut Edges
Wrapping cylindrical objects like perfume bottles and vases is not as difficult as it seems. Follow the steps below and you'll have a beautifully wrapped gift in no time! Turn the paper upside down on a flat surface and place the cylindrical gift on top of it.
Fold the paper freely on both sides, measure the required amount of paper and cut it. Place the gift back in the center of the cut paper, then fold each cut side of the paper 1 inch so it makes a nice straight line. Take a cylindrical gift from one end of the paper, wrap it until it is completely covered with wrapping paper, and secure the end with tape.
Place the gift inside the wrapping paper so that it is centered on the gift, leaving about 2 inches (depending on the diameter of the object) of paper on either end. Starting at one end, begin to gently fold the roll into the base or top of the cylinder, making the fold as neat as possible.
 Source: www.thesun.co.uk
When you reach the end of the circle, tape it over the top to secure it. Repeat the same process on the other side. Then draw two circles of the diameter of the cylindrical gift on the same sheet of paper. Cut out two circles and tape one to the top of the gift and the other to the bottom using double-sided tape to cover the creases in the wrapping paper.
Fold Paper Over Each Side Of Box
For an extra decorative touch, add duct tape to the top of the gift. A nice bottle of wine makes a great gift for a housewarming party or dinner at a friend's house. Make the gift even more special by wrapping the bottle instead of taking it with you.
As with the previous two wrapping methods, first place the wraps face down on a large, flat surface. Place the bottle face down, fold the two sides of the wrapping paper and cut it to calculate the amount of paper you need. Fold each cut end of the wrapper over 1 inch to create a clean edge, then bring the bottle to one end and roll until all the wrapper is used.
Secure with tape. If necessary, reposition the bottle and make sure there is enough paper at each end. Take the bottom end and gently fold it all the way to the end, then use a piece of tape to stick it down. Cut a circle about the diameter of the bottle on the left packaging, then stick it to the bottom of the bottle with double-sided tape to hide the wrinkles.
Lift the bottle up, then hold it by the neck and crumple the roll so it's at the top of the bottle, candy wrapper style. A piece of tape is tightly wrapped around the neck to keep it in shape. Take the ribbon, tie it around the neck and make a festive bow to finish.