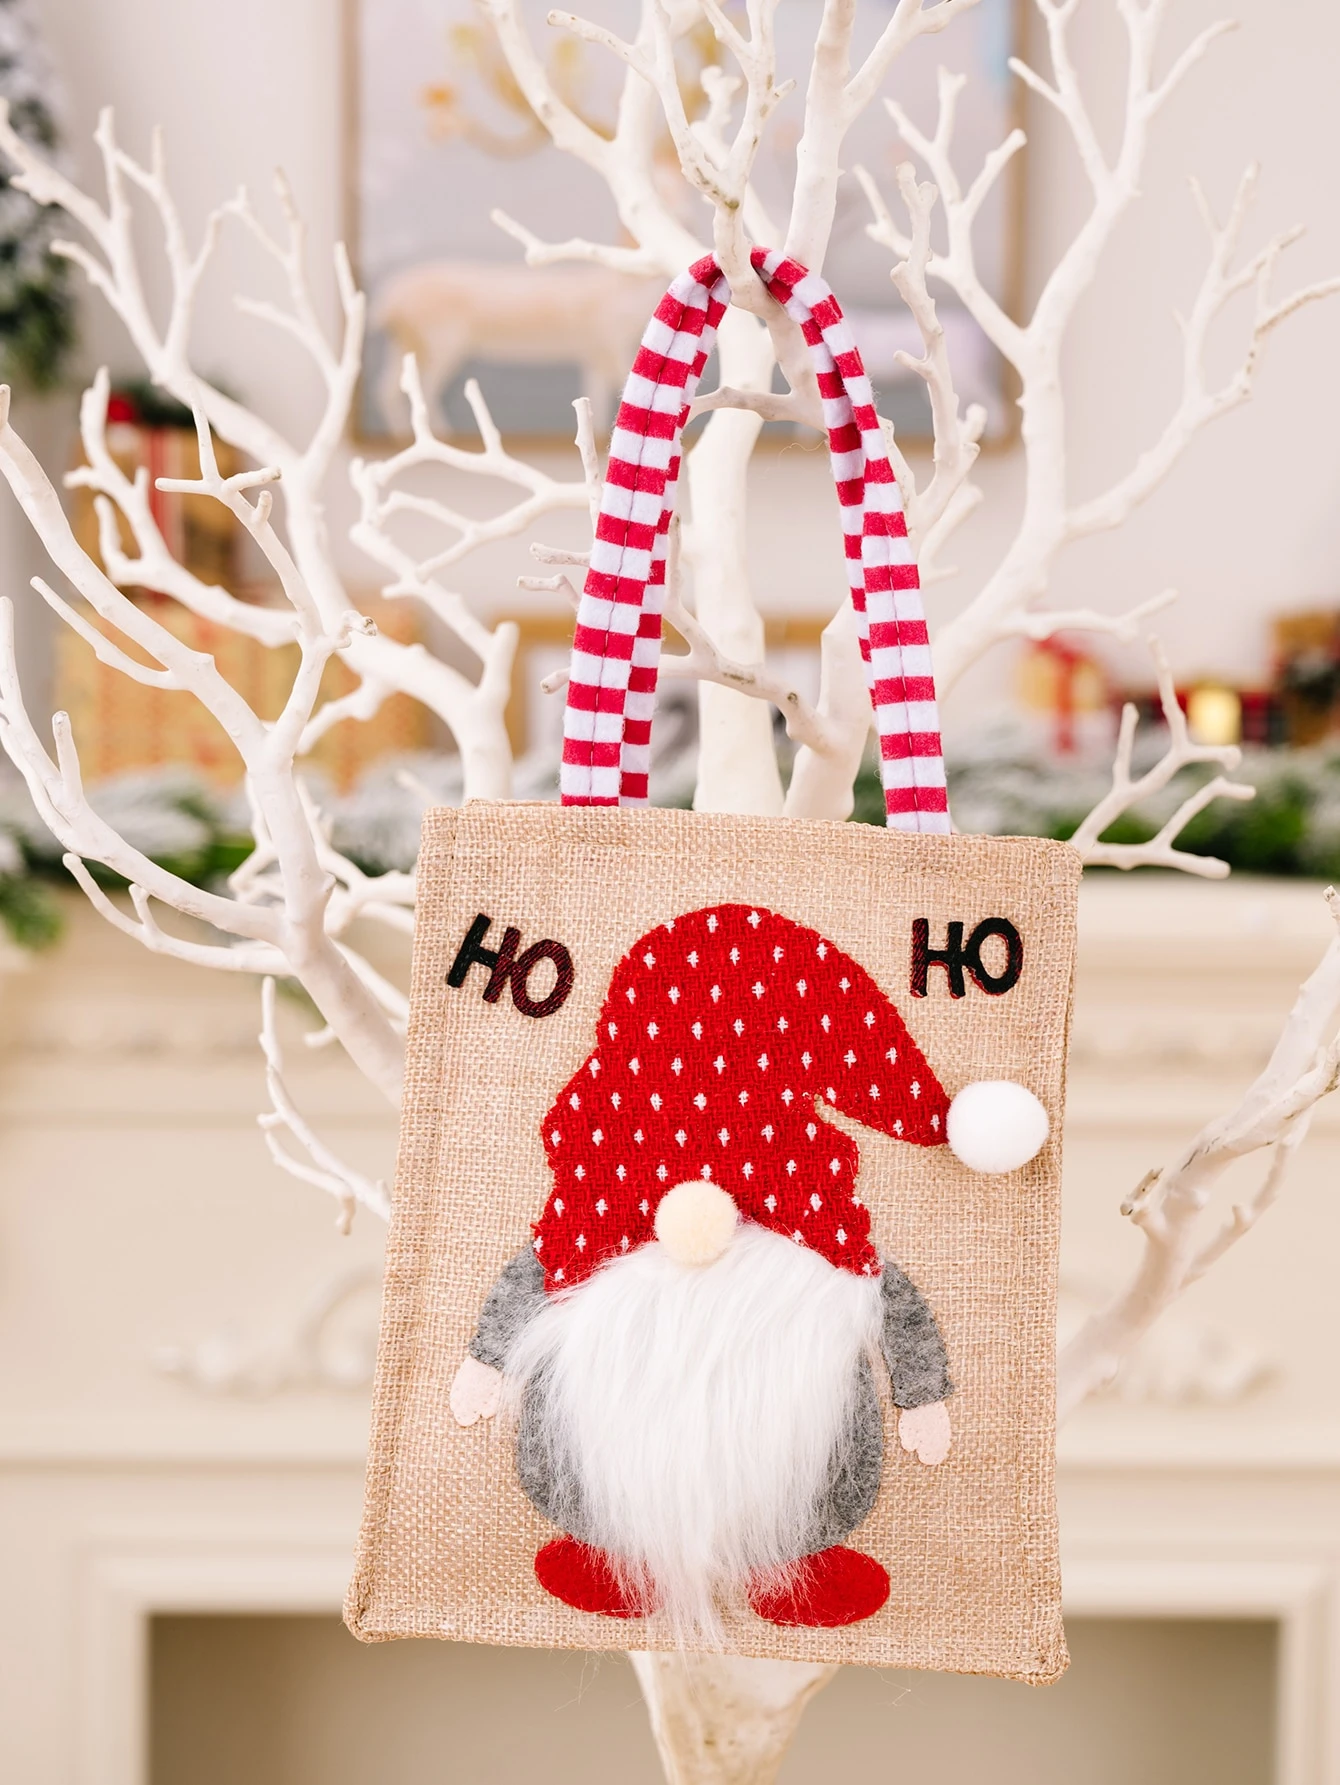
Gnome Gift Bag
Gnome Gift Bag - Activate and hold the button to confirm that you are human. Thank you! This is the year of the gnome, I believe! They are everywhere and I love to sew the folklore for the whole house. Here is a fun gnome bottle cap template with a drawstring gift bag inside.
 Source: static.vecteezy.com
Gnome Gift Bag
It's perfect for sharing holiday cheer and holiday decorations too. This blog post has been converted to an optional PDF optimized for printing. Find out here. These blog posts are free to read, print, and sew! Just press CTRL + P on your computer to print.
A print-optimized PDF download for $2 is optional. Did you know that you can get ALL Optimized for Printing PDF files organized in a library so you can access them whenever you want? Look at that. The first thing people will notice about this little guy is his beautiful fur beard!
The rest of my gnome bottle cap was sewn with cotton quilting fabric and some faux sherpa for the optional hat trim. You can also use flannel or home decor fabric to tackle your scraps! By the way, I added this free pattern to my collection of 10 Free Gnome Sewing Patterns!
Make The Lined Drawstring Bag:
Hand, beard, and gnome's nose are sewn into a beautiful hat. Pull off the hat to reveal a drawstring gift bag the size of a bottle of wine or sparkling cider. I will also show you how to make a long ponytail instead of a beard.
 Source: img.ltwebstatic.com
You will make a lot of girl and boy jokes for all your friends. Print the model template (above) at 100% (do not enlarge or reduce). Pin the hat pattern together as noted. Cut pieces of fabric from all the pattern pieces, like this: 1. Fold one of the 11" x 13" fabric rectangles in half (right sides together) with the 13" edges lined up. Sew the long edge with a 1/4
seam allowance. Repeat with the other 11" x 13" fabric rectangle, except leave a 3" opening in the middle of the seam. This is turning the bag right side out. This second piece will be the lining of the gift bag. I did this. and a
do by putting a flat tube on the board my board and press the edge that is folded opposite the seam. Then I fold the edge pressed to the seam and press the new fold that I made. Mark each part at the bottom of
Make And Insert The Drawstring:
the circle on the leg. You can use your iron to mark it by folding the circle into a quarter and pressing it flat. 4. Pin the bottom of the circle to one end of the fabric tube, right sides together. Line up the mark
the quarter and use at least 4 pins - one on each mark. Repeat to sew the bottom piece of the circle on the other fabric tube. 6. Turn a bag piece right side out and put them inside each other. The bag piece should be straight.
 Source: i.ebayimg.com
Line up the raw top edges and pin all the way around. 7. Sew to the top of the bag with a 1/4" seam allowance. If your sewing machine has a free arm, you can use it to easily sew the top of the bag.
8. Turn the bag to the right side from the opening. Press the edges on the opening inside. Sew the opening closed by hand or with your sewing machine. Push the lining of the bag down inside the bag and press the whole bag, especially
Sew The Hat
around the top edge.9. Use a ruler and fabric pen or chalk to mark two lines on the top edge of the bag. Mark the first line 1" away from the top edge. Mark a second line 1 3/4" away from the edge (so the line is 3/4" apart). Turn the bag over and mark the line again so it goes all the way around. 10.
Place the bag in the free arm of your sewing machine again and sew around following the marked line. 11. Place the bag on your work space with the seam side up. Using a seam ripper carefully remove 2-3 stitches from the seam between the two casing lines. 1. Fold the fabric strip 1" - 1 1/4" x 22" long in half and press.
Open and fold the raw edges to the center and press. Fold it in half again and press. Tip: If you can, move the sewing machine needle all the way to the left so that the cord will move right over the top of one of the feeding dogs. The fabric cannot move very well if it is not on the feeding dog. 3.
 Source: i.pinimg.com
Use a bodkin or a safe. pin to put one end of the rope in the box. Pull it all the way through the casing and out of the same opening. Tie a knot in each end of the rope. 1. Press the curved edge of the hat on the wrong side by 1/4" twice and press to make a 1/4" hem.
Sew The Hands And Arms
2. Before sewing the hem, fold the hat in half (unfold the hem slightly) and sew from the curved edge to the edge with a 1/4" seam allowance. Cut the extra fabric at the edge so that it will a sharp stitch when you turn it right side out. Finish the raw edge of the seam with a zig zag stitch if desired. 1. Place a hand piece and arm right side together with the right edge of the hand piece on a
side of square 3 1/2". Sew with a 1/4" seam allowance. Press the seam open. 2. Fold the hand and arm in half (right sides together) and sew from under the arm to the top and around the hand and thumb. Use 1 /4" seam allowance.
3. Cut notches around the curve. Pinking scissors work quickly this step! 4. Lightly fill the sleeve with polyester fiberfill, leaving the top 1" empty. 5. Fold the raw edge of each arm inward by 1/4". Sew each arm closed near the top edge. 6. Lay the hat flat on your work space with the seam in the middle against a table or bed.
Place each arm. and the top edge just inside the hat on the side edges. Pin the top of each arm to the edge of the hat. 7. Sew each arm and hat carefully, sewing on the hem. 1. Place the top edge of the beard.
small gnome gift bags, gnome christmas bags, gnome christmas gift bags, gnome purse, large gnome gift bag, gnome gift basket, gnome shopping bags, gnome handbags