Gift Tags Cricut
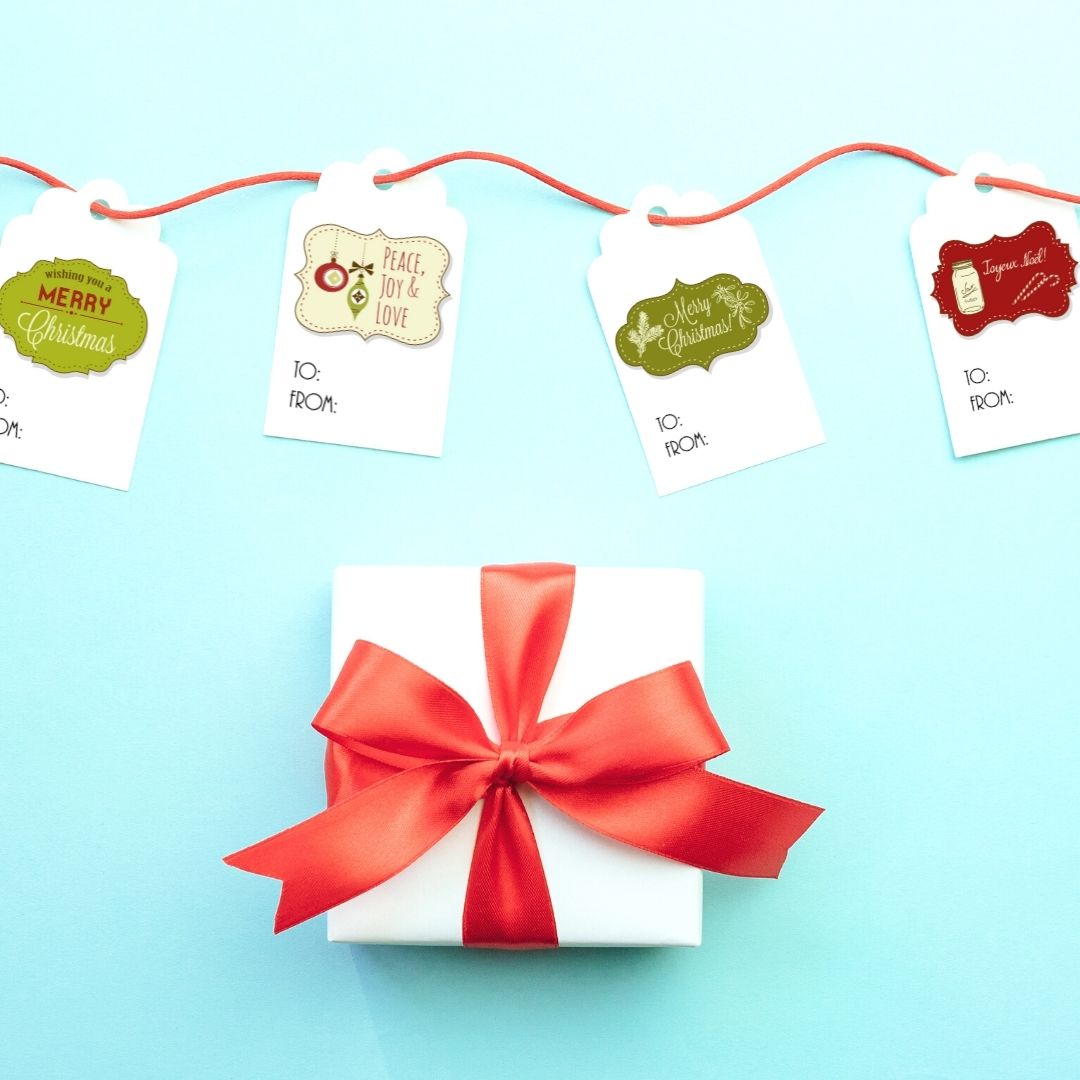
Gift Tags Cricut - Almost Merry Christmas! No matter when you read it, these adorable Christmas multi-layer gift tags will get you in the holiday spirit. Hand-painted gift tag designs are stacked to create a fun 3-D effect that really stands out from other designs. And to really make it stand out, we take it a step further by adding a light (and mess-free) glitter gel with Stickles Glitter Gel.
 Source: www.thecountrychiccottage.net
Gift Tags Cricut
This is one of my absolute favorite types of designs - the ones that look a lot tougher than they are. In fact, you'll be surprised how easy these multi-layered cricket stickers really are! This is the third year in a row that I've celebrated the Christmas crafting season with my best blogger friends.
However, this year we've expanded the circle from 6 to 14 to bring you even more projects, freebies and tutorials. You will love what we have for you. It's a fun start to the holiday season and I can't wait to help you get into the holiday spirit!
And instead of just a list of links, I decided to do a whole blog post for the holiday display so you can take a closer look at each project. free! That! You don't hear that much around Christmas, but this sticker design is free for anyone who signs up with their email to receive my weekly email newsletter (with free products).
Welcome To My 2021 Holiday Showcase Post!
You can join anytime. Available for download in English and French. ❤️ Joyeux Noel! This post contains affiliate links. This means that if you make a purchase through one of these links, I may receive a small commission at no additional cost to you. Thank you!
Download free multi-layer stickers from my free library or create your own in Procreate. I'll show you how in this post. Open a new canvas and then transfer the top layer to the character design space. Then save as a printable, then cut and repeat with the bottom layer of gift tags.
Click on the top and bottom layer images to select them in the uploaded image gallery page. Then click the Insert Image button in the lower right corner. This will open both designs on your new canvas. With both still selected, go to the top toolbar and under Size change the width of your images to 6.75.
Since you have lock constraints, it will automatically resize the image to keep the aspect ratio correct. Make sure your images are resized. You may want to use the setting on the top toolbar to send the bottom layer to the back if it isn't.
Get These Free Holiday Showcase Layered Gift Tag Stickers!
This overlay just helps you see if the two layers are the right size in relation to each other. Note: The sign design space will allow you to create your print and then cut out the 6.75 inch images. and 9.25" tall. Once you've sized and saved, create the gift tags in the upper right corner of the screen. Continue to the image preparation page (it has a snapshot view). Make sure both the bottom and top layers say print then cut. On the page
Material Settings you will want to select Print This will open the Cricut Print box Stop Bleed and Print Note: If you have a rear feed printer or want to access other settings for your printer you will need to go to the System dialog and select Rear Feed If you have this option
 Source: leapoffaithcrafting.com
and use cardstock always use the rear feed to avoid paper jams with heavy paper This is the character setting for this label paper (cardstock weight) we are using for this project because it has the extra weight we will need to support the foam adhesive and small
die cut embellishments. . After printing, place the paper on the green backing for standard holding as shown on the backing preview page. Follow the on screen instructions to print and cut the gift tags. Once you're done printing and cutting out the bottom layer, it's time to top it off!
Step One: Upload Top And Bottom Layers Into Cricut Design Space
Select the Heavy Cardstock setting for the Material setting and change the default to Other if you are using 100 lb.-110 lb. Use paper. Place the printed top layer on a standard die to cut your character as shown on the matte preview page. Then follow the instructions to cut the top layer with an electric cutting machine.
Use foam adhesive dots to attach the pieces from the top layer to the bottom layer as shown. Carefully place the top layer of cardboard pieces so that they adhere to the bottom layer of printed gift tags. . Design Note: You'll probably notice on a few of the smaller decals that I actually have the same image from the top layer as part of the bottom layer.
This is because the parts were so small and I thought it wouldn't matter if you lost them. Or if you have vision problems, you don't have to worry about trying to glue those tiny pieces. One of the tags doesn't even have a top layer because it would be too small and I don't want you to be disappointed.
 Source: www.craftwithsarah.com
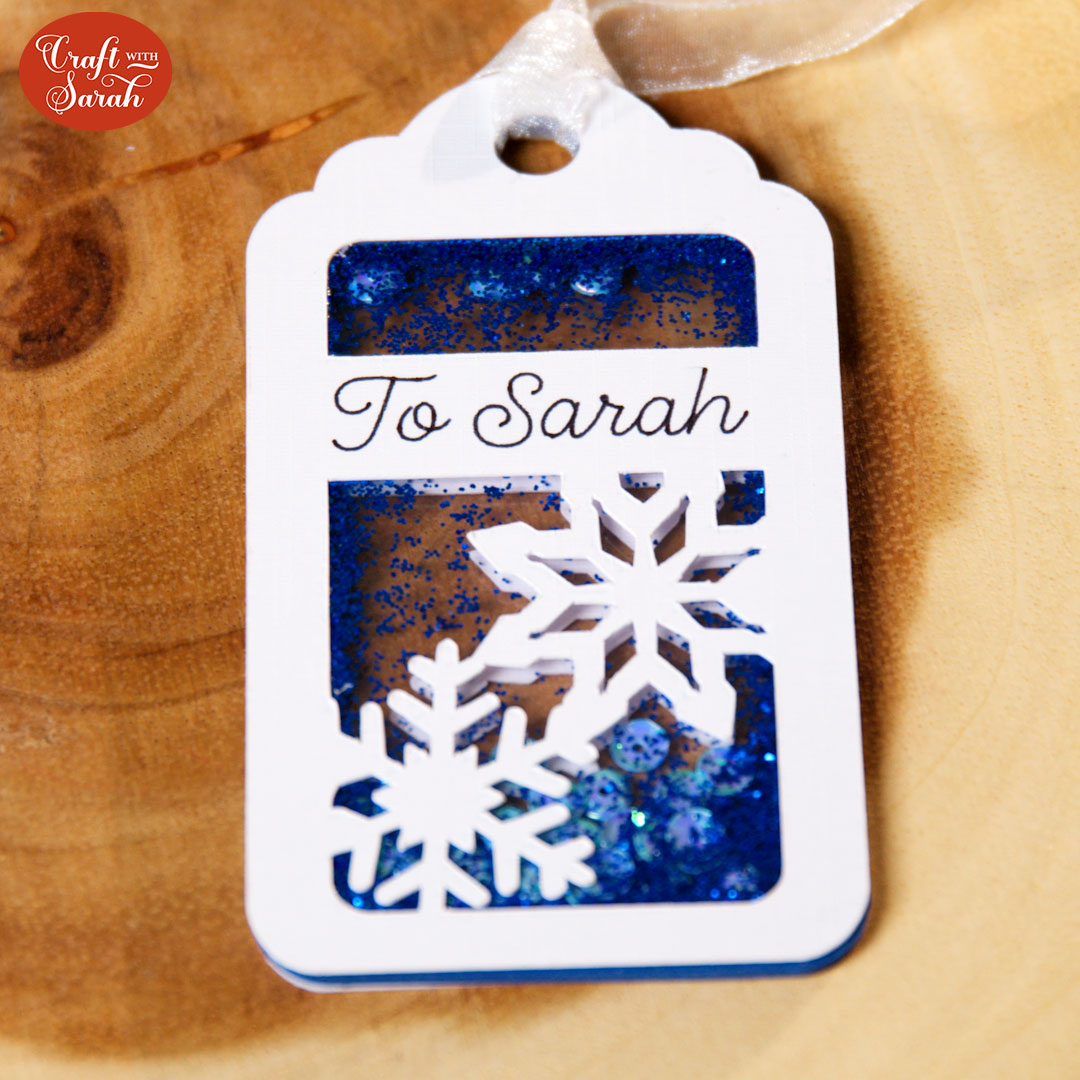
This is interesting! It's the holidays! That means glitter and sparkles are completely ready to be made! If you like glitter but don't want a mess, you can use Stickles, which is a clear glue. You can choose between regular Stickles or the new Stickles gel in small bottles.
Step Two: Insert Image Into Canvas And Size
I tried both below. Regular sticks come in a small bottle that makes it easy to create little glitter dots. You might see it in a blue jacket with a girly design. Stickles Gel is easily applied with a brush to large areas. Just keep in mind that if you brush it on, you can feel the color a little.
So diving is good! Prefer to watch a video on how to make these stickers? The video below shows the process from Procreate to Cricut using some layered stickers I designed last spring. Just want to see the print and then cut the part? Printing and cutting instructions begin at 3:33 p.m.
This year I went with a mid-century modern look that you may have seen on your Starbucks mugs, holiday decorations at Target and other stores. It's a fun, fresh look for 2021 that still has some memorable colors and graphic patterns and images from the 50s.
And it's very easy to create in Procreate! Not only do I have these gift tags for you, but all week long I'll be showing you how to use these same designs as sticker sheets, sublimation designs, and more. If you haven't tried designing in Procreate yet, I'd love for you to join my Facebook group for our weekly Procreate Playdates and learn more!
making gift tags on cricut, free svg gift tags, cricut gift tags svg free, print then cut gift tags cricut, free christmas gift tags cricut, cricut gift tag ideas, gift tag templates for cricut, cricut gift tags christmas