Gift Bag Sewing Pattern
Gift Bag Sewing Pattern - with this tutorial you can use any cloth. Use everything you need to make a reusable fabric gift bag. Gone are the days of spending money on expensive gift bags that don't match or don't have the color or style you want. Now with this easy to sew fabric gift bag you not only spend less money, but also create custom gift bags that your friends and family can use again and again!
 Source: fabricninja.com
Gift Bag Sewing Pattern
This guide will guide you step-by-step on how to create a custom gift bag that's not just It's just right for the gifts you give. but also added to the present! Using fabric you already have or can buy, this is an inexpensive way to wrap gifts in a fun and special way.
Whenever I start a new sewing project I always like to wash, dry and iron first. Especially when the fabric is cotton. Like this, if I need to wash after washing. The fabric is less likely to shrink. Do not skip this step as it is an essential step for any sewing project.
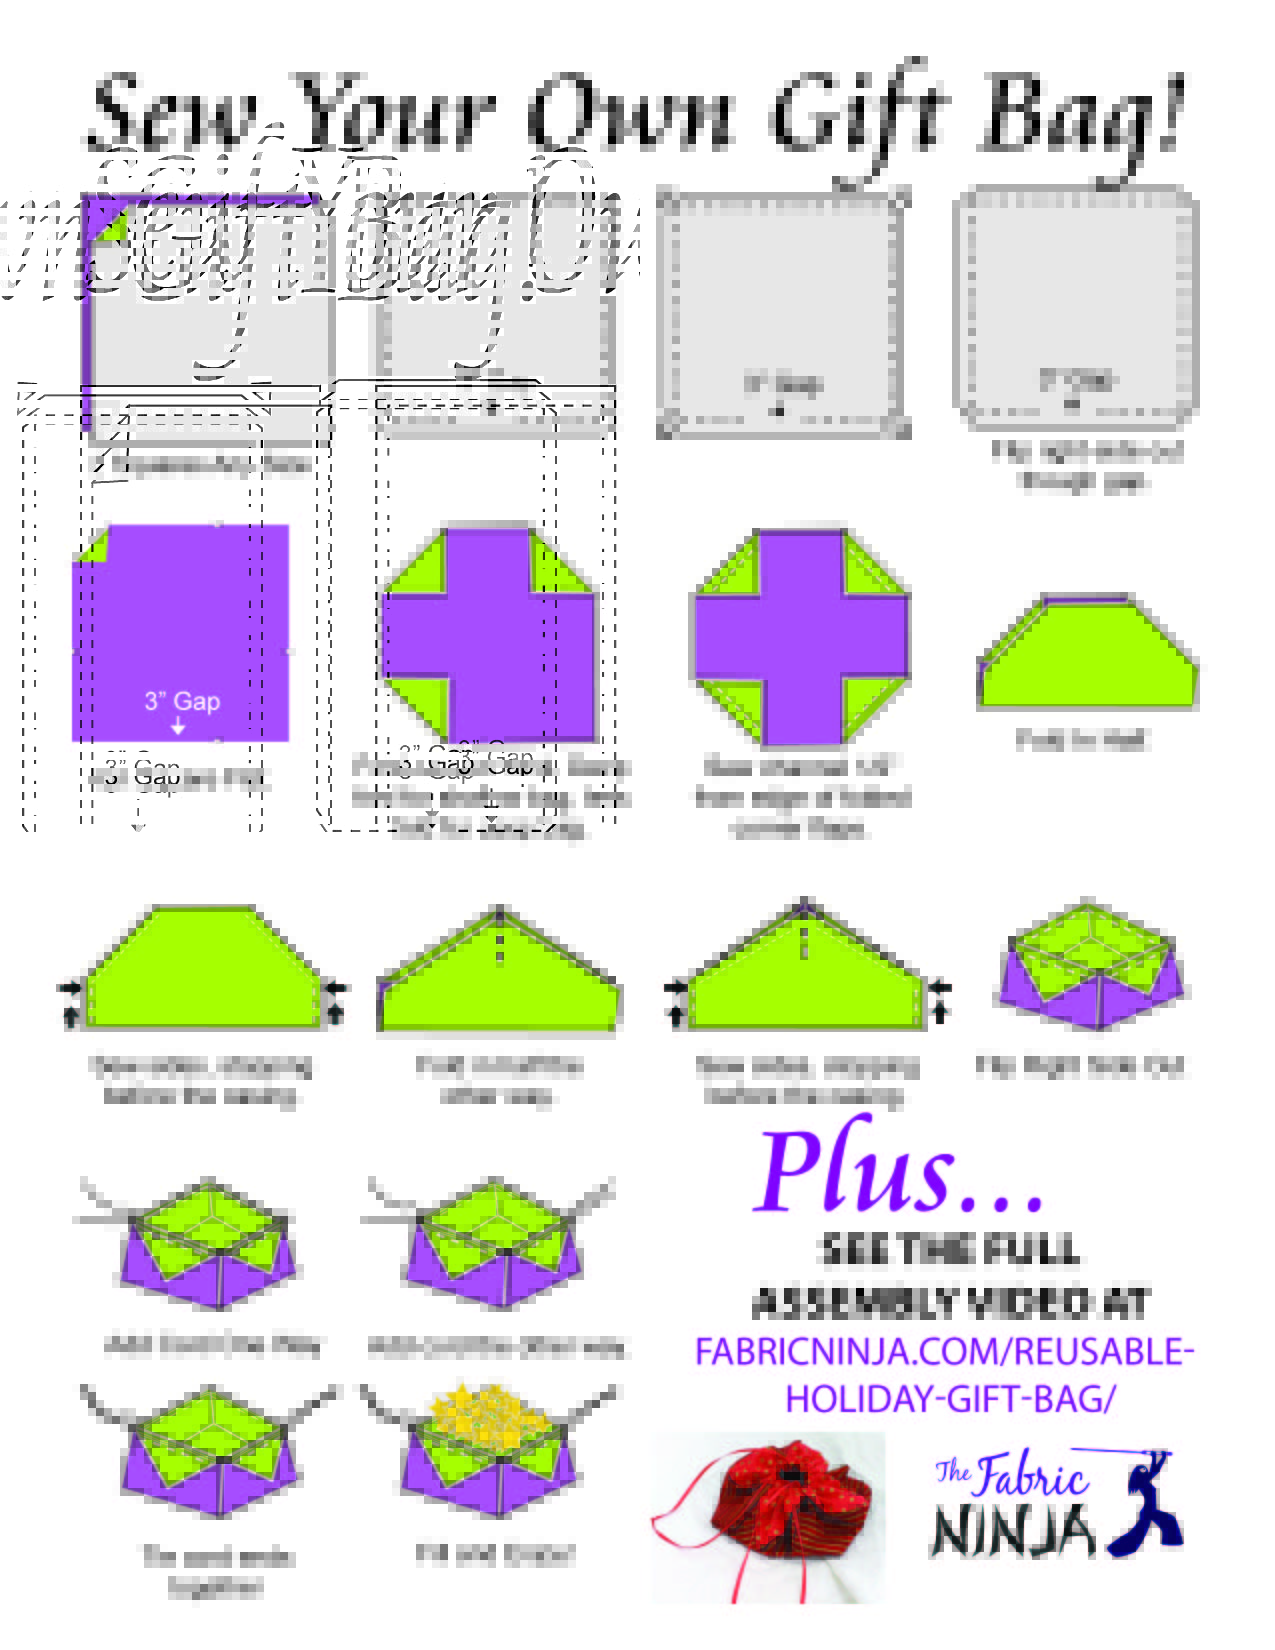
Measure and cut a 13″ x 11″ rectangle of fabric (this measurement is for a 6″ square pocket – see instructions section for additional pocket measurements). Now make sure you are using the "wrong" side of the fabric here. Using a ruler (I used a clear acrylic sewing ruler) measure 1/2″ from the raw edge along one 13″ edge.
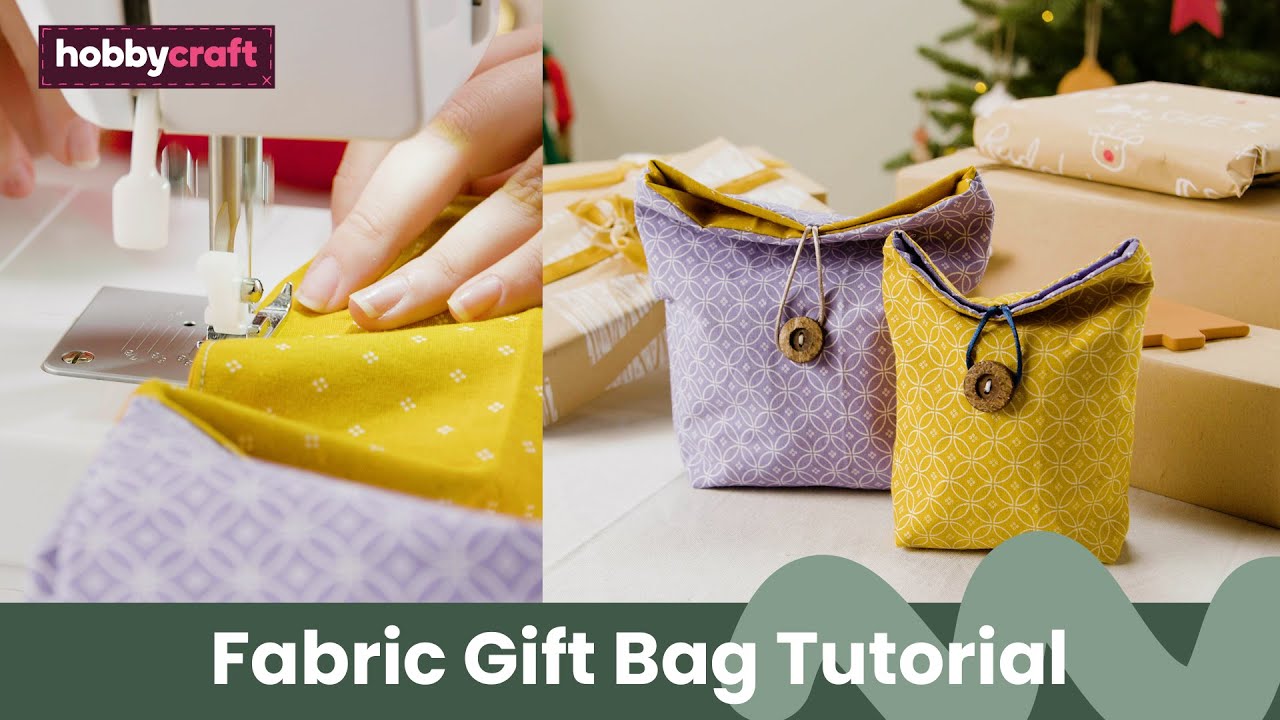
Supplies For Easy Sew Gift Bags
Mark all lines with a marking device. You will need the missing marker, a pencil or a light colored pencil. (Mine is highlighted in dark so you can see better!) to make the next step easier. on the same edge Fold the raw edge of the fabric along the line you just drew.
 Source: i.ytimg.com
Press well as you work the fabric - making a 1/4 inch fold. The next step in this guide will be done on the same page. Fold the folded edge down 2.5 inches again. Use a ruler or ruler to make sure the crease is even along the entire line.
Press along the new crease you made. If you press well on this bent edge. You don't have to pin the flap, but you can if you want! with the newly folded edge on the right side Push the fabric under the presser foot. Sew very close to the first folded edge - your seam allowance should be about 1/8″.
Then pull the fabric out of the machine, cutting the thread from the line you just sewed. Measure and mark a line 3/4 inch from the folded part of the fabric. Back to the sewing machine! Sew to the top of the line you marked in the last step.
Recommended Products
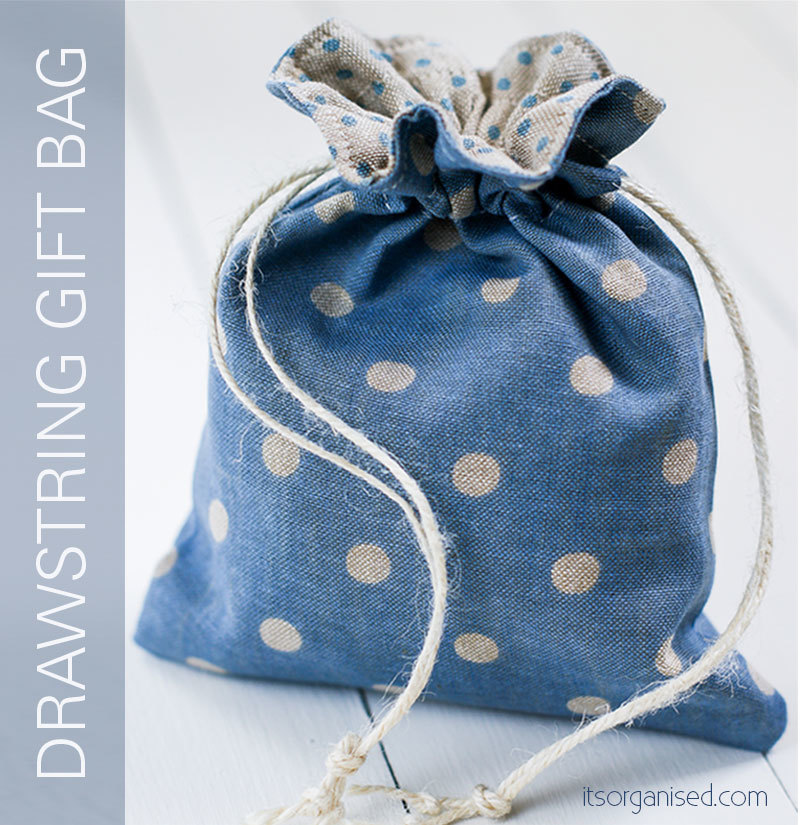
This is to make a drawstring bag. You're halfway done with this DIY Drawstring Fabric Gift Bag! Now fold the fabric to bring the right sides of the fabric together. The fold should be at the top. and the previously sewn line should be in line with one edge.
First pin the fabric along the raw edge to hold it together. Now you will sew with a 1/2" seam allowance along the top raw edge to the seam line. Then skip the 3/4" section (the pocket you made for the drawstring) and start sewing again on the other line. Make sure you sew back on
 Source: irepo.primecp.com
at the beginning and end of each stitch. Trim the corners to make turning easier. You can also trim the excess fabric along the seam if you want. Just be careful not to cut the seams! If you want the bottom of the box (To leave a little more room for opening the bag) Repeat the next 3 steps.
If not, skip the next 3 steps and continue with the Easy Sew Bag. Fold the bottom of the bag in one corner to form a triangle. Then about an inch from the corner. draw a straight line cut off the excess corners. Now repeat for the other corner of the pocket. You will then cut around the pocket
How To Make Reusable Fabric Gift Bags
with drawstring. Inside the 3/4″ section, cut a small amount of fabric to match the seam line on the edge. Now you should cut the edges for the drawstring bag to avoid fraying the raw edge. Here, paint some clear nail polish or Fry Check on
edges of the case. You can poke needles or other objects. into the holes to prevent the ends from sticking as they dry. The next step in this easy sewing project is to incorporate the ribbon. Cut an 18-inch piece of ribbon, making sure the ends are cut at an angle.
This will help when you thread the ribbon through the tie pocket.) Help heat the ends with a lighter. Insert a safety pin into one end of the tape. Then insert the end of the safety pin into the 3/4″ hole of the thimble. Insert the tape through the other end of the thimble.
 Source: 1.bp.blogspot.com
Then remove the safety pin. Use sharp objects with care. (I used the "Purple Thing" tool from Amazon) to bring both ends of the ribbon up through the holes on the right side of the fabric. You have now completed your Easy Sev gift bag!
Step-By-Step Directions
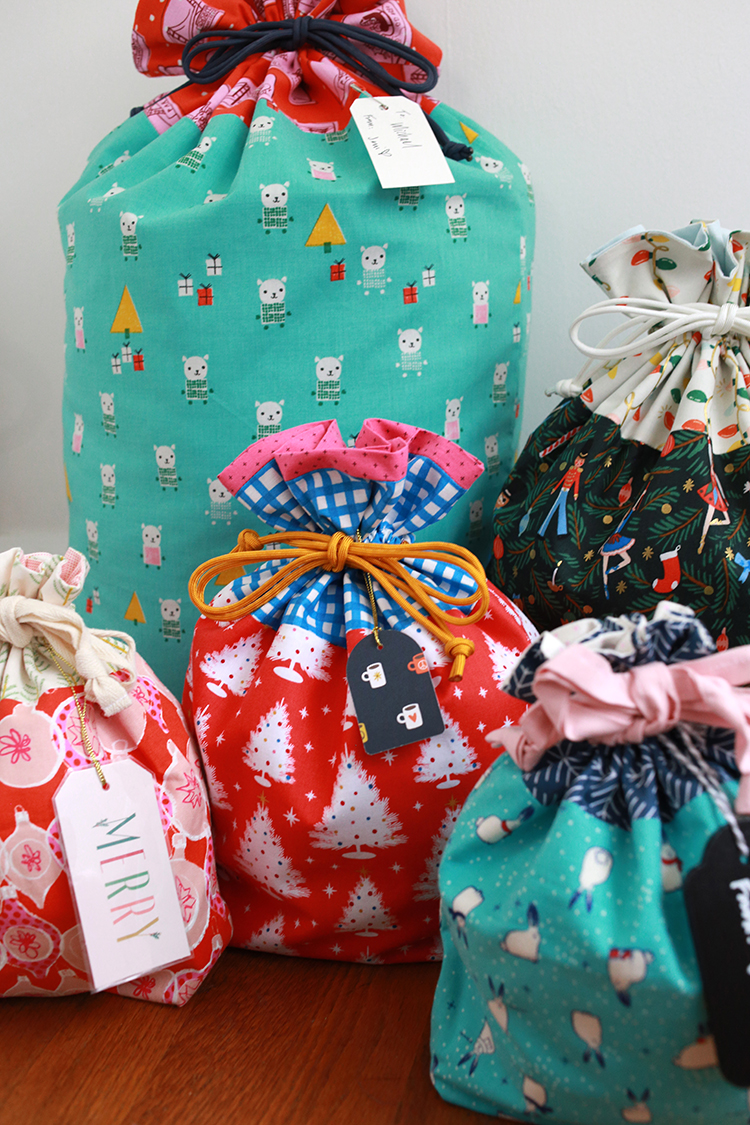
Ready for gifts! These bags aren't just cute. It is also functional and environmentally friendly. Not only will your friends and family love the gift that's in their bag. Not only are these DIY gift bags reusable, they are reusable. But it can also be used in many different ways!
And because it's made of fabric, it can be reused over and over again. I hope you enjoy creating these as much as I do! Here are the measurements for the large bag (10″ x 10″) - cut fabric 21″ x 15″ and a 26″ strip.
Take a few seconds and pin it to your favorite Pinterest board. or share with friends on social networks. If you decide to make a gift bag after that, please take a photo and tag us on social media as we love to see the fabrics and colors others have chosen.
In this tutorial, you'll get step-by-step instructions on how to make your own personalized gift bags. Gone are the days of buying expensive bags that don't fit. This is a cute reusable bag for everything! Bag Measurements: Large Bag (10” x 10”) - Cut 21” x 15” of fabric and cut 26” strips.
gift bag sewing pattern free, pattern for fabric gift bags, patterns for making gift bags, pattern for gift bags, fabric gift bag sewing pattern, free gift bag patterns, fabric gift bag patterns free, fabric gift bags to sew