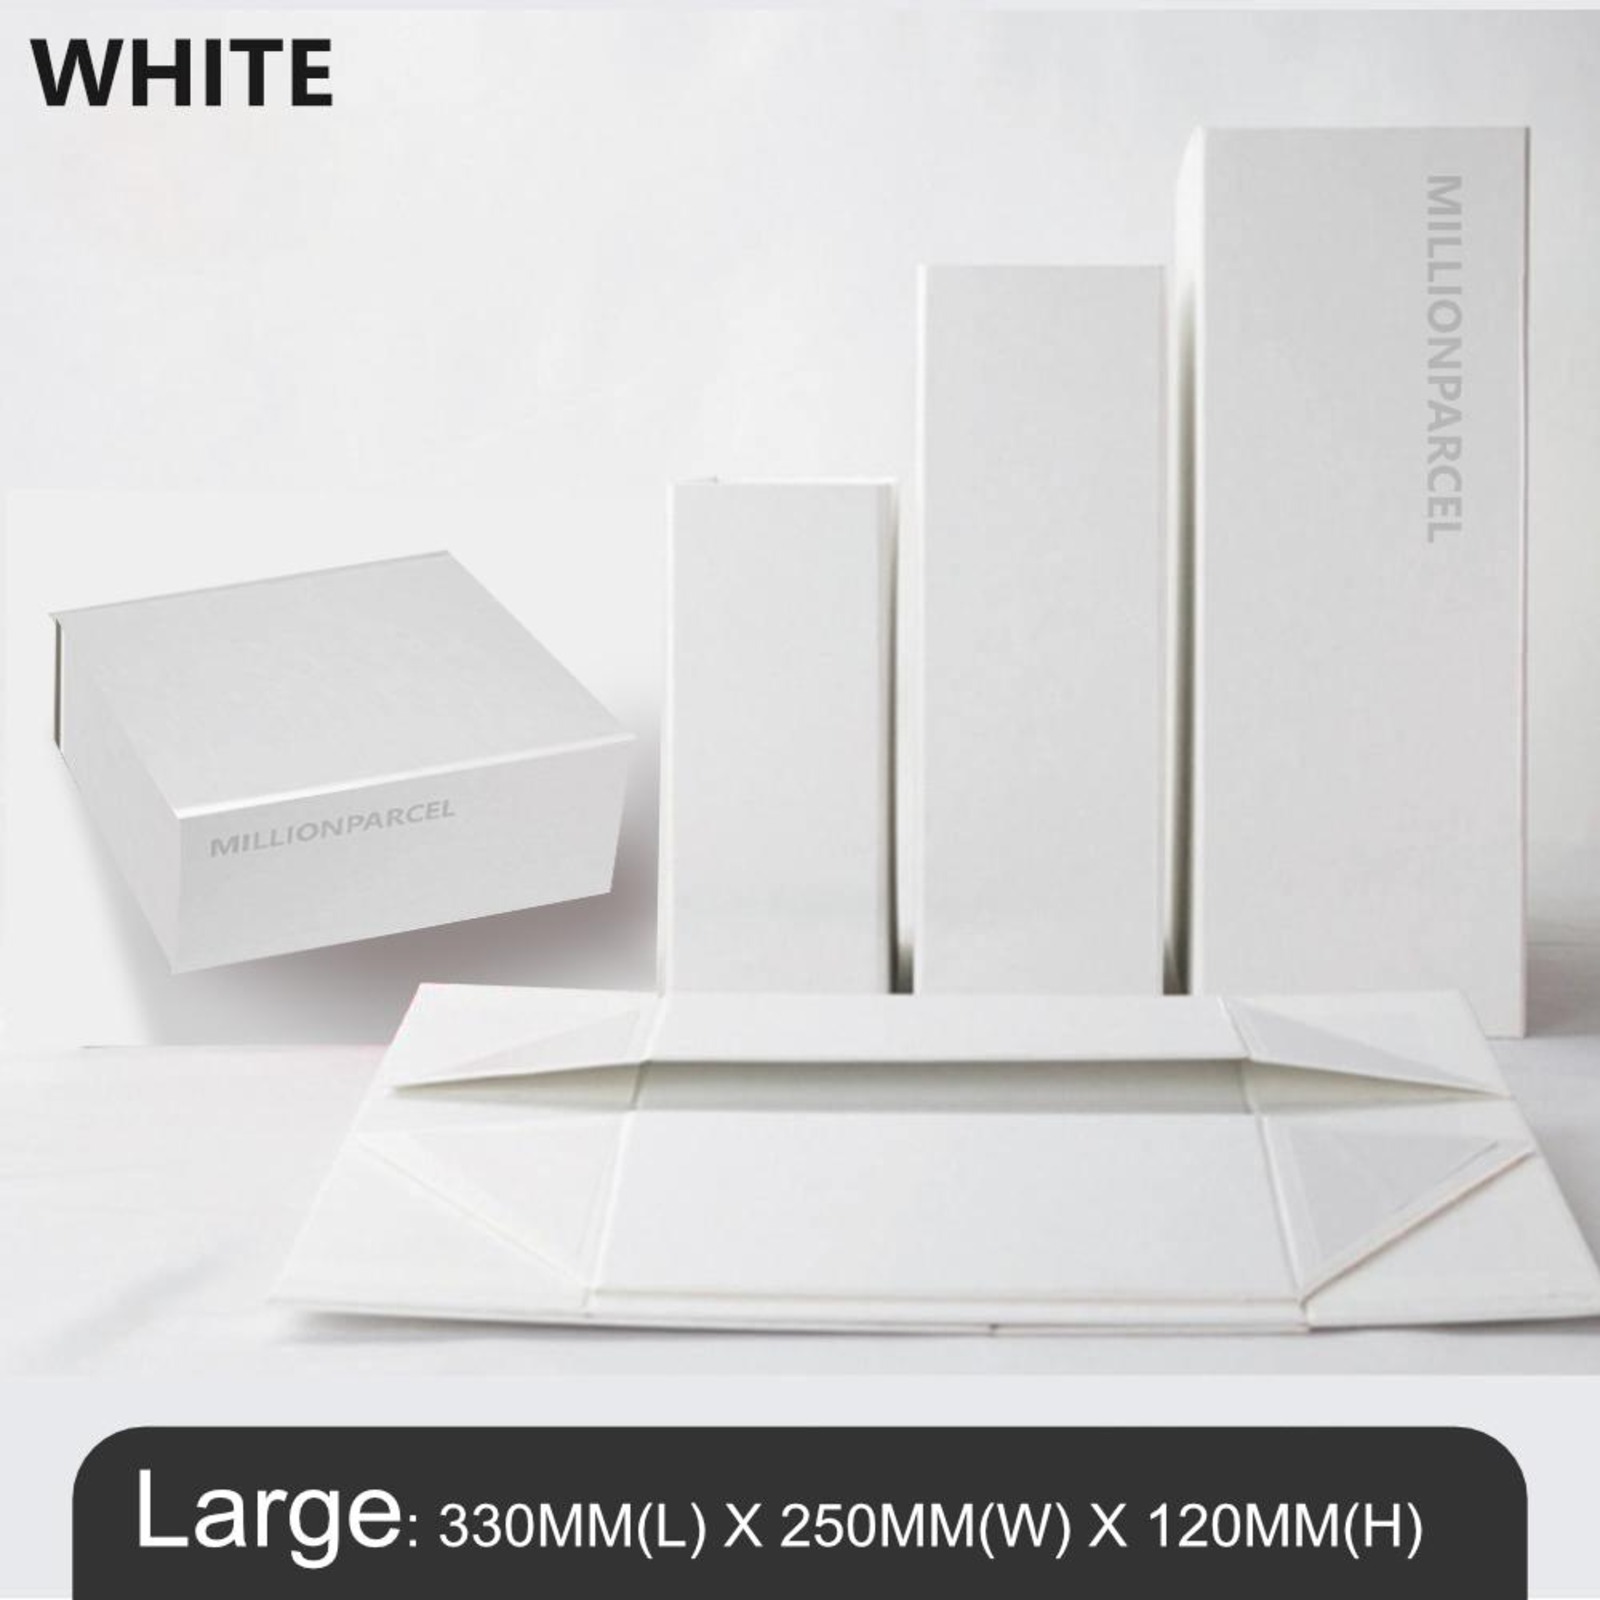
Foldable Gift Box
Foldable Gift Box - Kate Pullen is an accomplished artist and rubber stamping expert with over 15 years of professional crafting experience. She founded Away With The Pixels, a digital rubber stamping studio, and runs craft workshops around the country. Paper gift boxes are quick and easy to make and can be customized in a number of ways to suit the occasion or the gift inside.
Source: cf.shopee.com.my
Foldable Gift Box
You can adjust the size of the box depending on the size of the paper you are using. The finished box will always be one-quarter the size of the original paper square when measured from corner to corner. These boxes are perfect for small gifts and party favors and can be customized for the holidays or to match the recipient's style by decorating the paper with rubber stamps and other embellishments.
It is useful to use scrap paper to practice making a box before making the one you plan to give as a gift. You can also practice various decorating techniques, such as placement and rubber stamp techniques, on the scrap box. You start by making the lid and then repeat the process with a slightly smaller square of paper to make the base of the box.
Start with a square sheet of paper. Draw two lines diagonally from corner to corner with your pencil and ruler. This will form a large X, marking the center of the square. Don't worry about marking the paper, because the marks are inside and invisible.
Mark The Center Of The Paper
Fold each corner to the center of the square. If you have one, use a bone folder tool to create a crispy fold. This will give you a high quality finish. If not, fold the folds tightly by hand. Then unfold the paper. Then fold each corner to the line on the other side that you made by folding the diagonal corner here.
 Source: media.nedigital.sg
Then unfold the paper again. At this point, you should see a series of squares created by the various folds. You'll finish it off with a final set of folds. Fold each corner to meet the fold line closest to it. Then unfold the paper again.
Make four cuts as shown in the image below. It makes no difference which set of corners you cut as long as they are diagonal to each other. If you want to decorate the paper with stamps or other artwork, now is a good time to do it while it's still flat.
It will be more difficult, but not impossible, to decorate once the box is folded.) If you use ink, give it time to dry before continuing to fold the box. Now you are ready to fold your paper gift box. You can use glue to hold the folds in place, but it's not necessary.
Make The First Folds
Take both sides of the corners you just folded and fold them to the next fold line to form the sides of the box. Fold the two remaining pieces into the center of the box. This will hold the box securely. No need to add glue unless you want extra strength.
With the lid complete, you can now make the base of the box in exactly the same way. However, this time you cut the square a little smaller so the base will fit on the lid. Taking the time to creatively wrap a gift shows the recipient that you put more thought into their gift.
 Source: images.squarespace-cdn.com
And if you learn how to fold a simple origami gift box, you can make beautiful wrappers for a variety of small gifts. The origami box featured in this quick and easy tutorial is a traditional design known as a masu box. The masu was originally a square box used to measure rice in Japan, and today masu boxes are often used for consumption purposes.
You can have fun with your box by customizing the colors and designs of the paper to the holidays or preferences of the gift recipient. Choose matching papers for the base and cover, or choose two slightly different colors or patterns to add some contrast to the project.
Make The Second Folds
Scrapbook paper is best for this project because it is thick enough to give you a sturdy box. Using 12" by 12" scrapbook paper results in a box that measures 4 1/4" by 4 1/4". To start your origami gift wrap, fold a piece of paper in half horizontally.
Unfold it, then fold it in half vertically. Unfold to reveal a cross pleat pattern. Then fold each corner towards the center until your paper looks like this model. Fold the top and bottom in the middle of the paper as shown here. Unfold. Fold the left and right sides to the center of the paper.
Open the two corners diagonally to each other, leaving the other two corners folded. Use your index fingers to encourage the crease of the corner by pulling the third edge up. Place the top flap to form the side of the box. Repeat on the other side to complete the frame.
 Source: i.ebayimg.com
If you plan to use the box to make a heavy gift, attach the flaps with a glue stick or a piece of double-sided tape for reinforcement. Cut the second sheet of paper to measure approximately 11 1/2 inches by 11 1/2 inches. Then repeat steps 1 through 4 to fold a base for the origami gift box.
Make The Third Folds
Now it's time to decorate your origami gift box as you like. For something simple, you can simply choose to tie a bow around the box in a coordinating color. You can also cut the paper strokes into the shapes you want to attach to the box.
Or you can make origami shapes like paper flowers. Finally, if you have any paper scraps, consider running them through a paper shredder to create packing material for your origami gift box. Activate and hold the button to confirm you are human. Thanks! Etsy no longer supports older versions of your browser to ensure user data remains secure.
Update to the latest version. Sale Price Rp 468,927 Rp 468,927 Rp 937,853 Original Price Rp 937,853 (50% off) Sale Price Rp 739,711 Rp 739,711 Rp 1,056,730 Rp 1,056,730 Rp 1,056,730 Rp 1,056,730 0 Rp 1,056,730 Rp 1,056,730 Rp. p Rp 304,262 Rp 380,365 original price Rp 380,365 (20 percent price drop) Selling price Rp 88,815 Rp 88,815
folding gift boxes, paper folding gift box, collapsible gift boxes, folding cardboard gift boxes, folding gift cardboard box sizes, gift box foldable factory, foldable gift boxes with ribbon, foldable christmas gift box